如何重装系统win7
- 分类:Win7 教程 回答于: 2023年03月11日 09:10:02
笔记本电脑win7系统时间久了之后,就比较容易遇到一些系统故障问题,比如系统卡顿,中毒等等,一般都是可以给系统重装解决。有些用户不清楚如何重装系统,下面就教下大家简单的电脑重装win7系统步骤教程。
工具/原料:
系统版本:windows7系统
品牌型号: 宏碁传奇X
软件版本:咔咔装机工具v3.1.329.319
方法/步骤:
方法一:一键重装装win7
1、首先下载安装咔咔装机软件,双击打开运行,点击在线重装。

2、选择我们需要安装的系统版本,点击下一步。
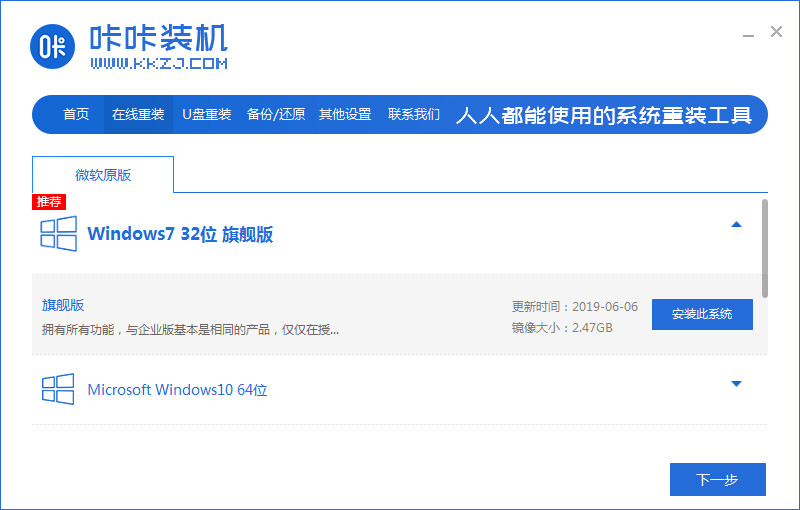
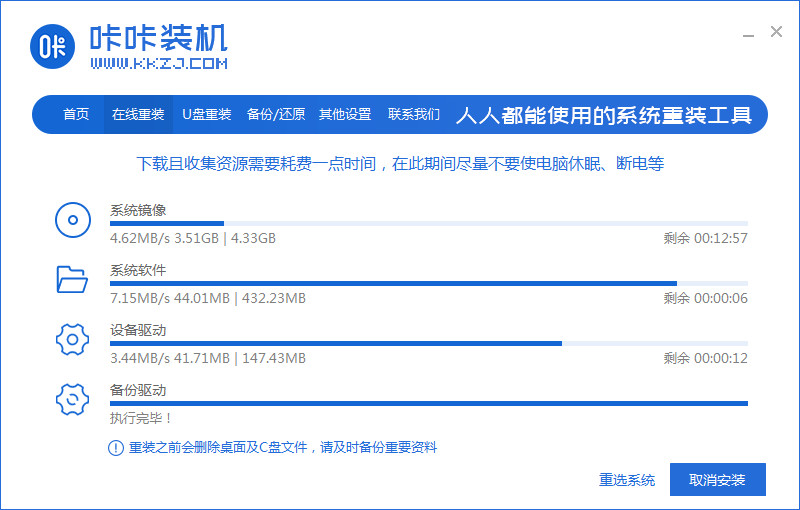
3、请大家耐心等待收集系统镜像、设备驱动等资源。
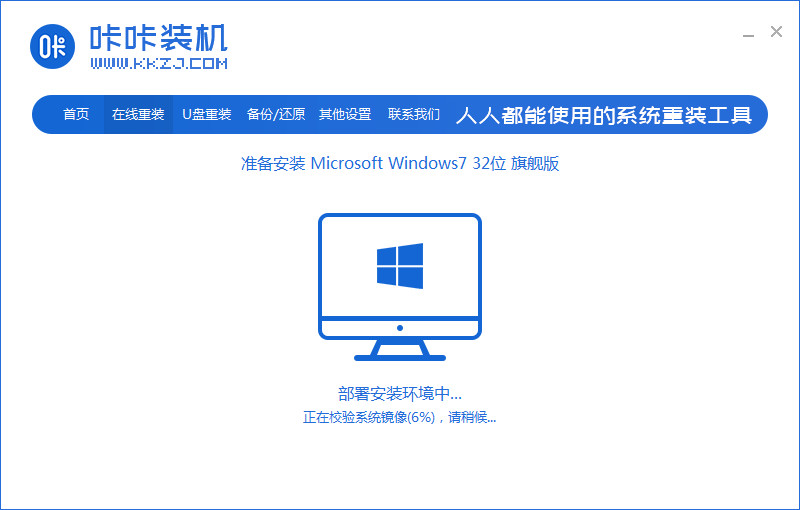
4、请大家耐心等待部署系统安装环境。
5、等待提示安装环境部署完成后,鼠标点击立即重启。

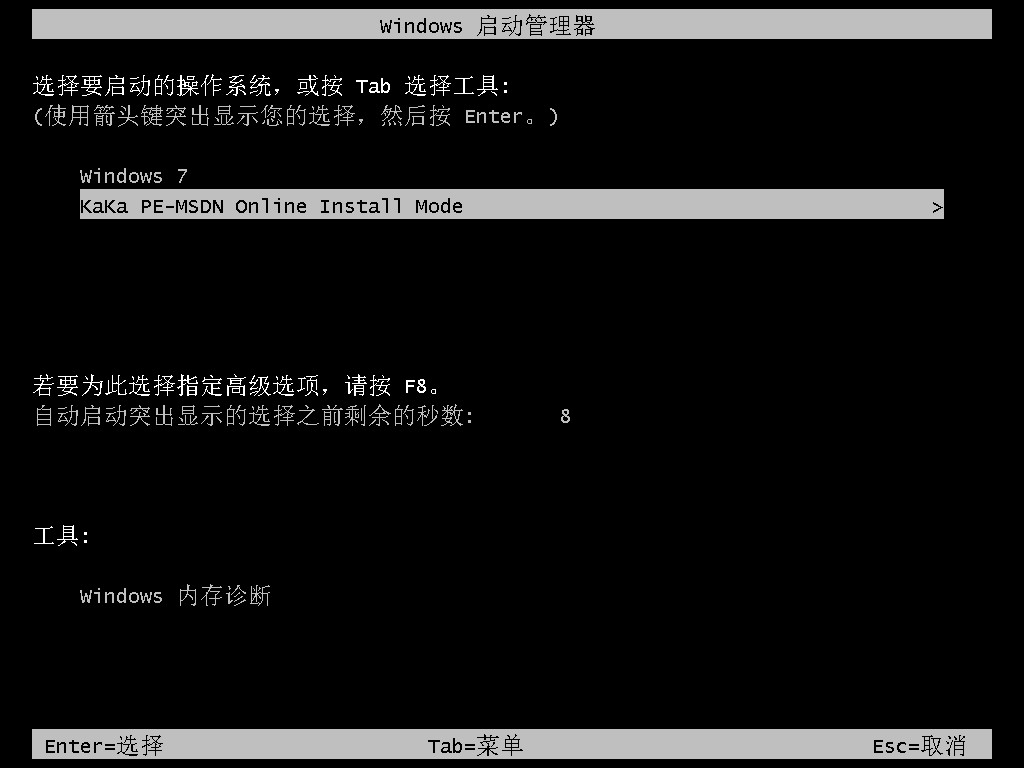
6、进入启动管理器的界面,选择第二项,回车键进入。
7、耐心等待系统自动安装。
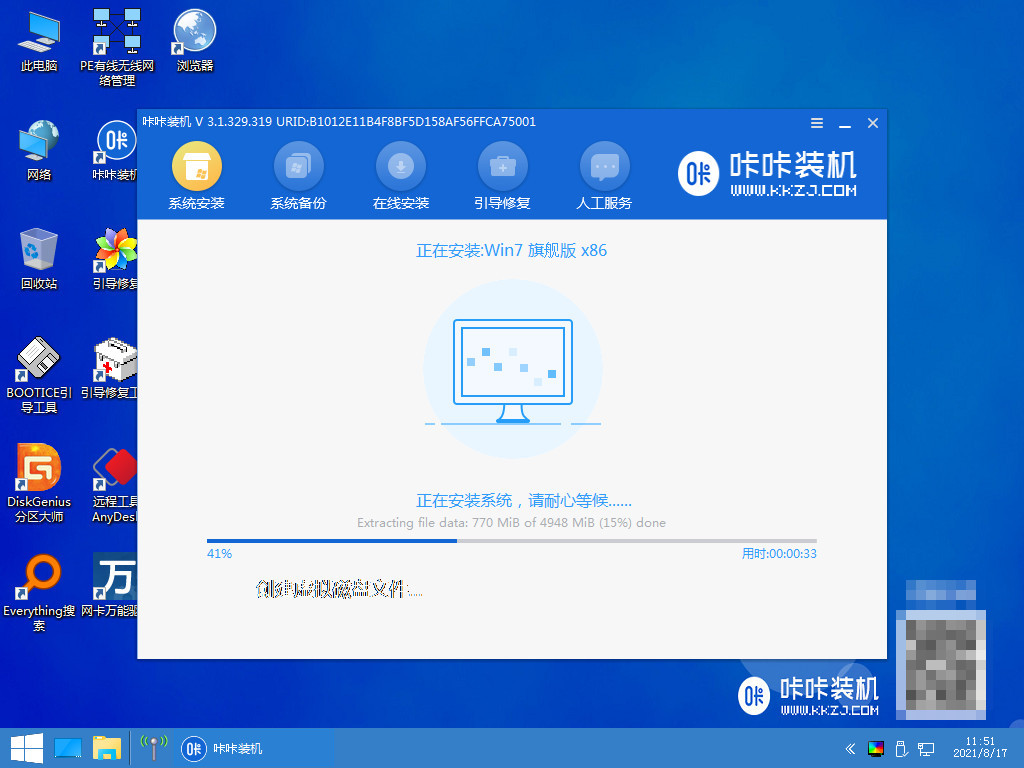
8、提示系统安装完成后,鼠标点击立即重启。
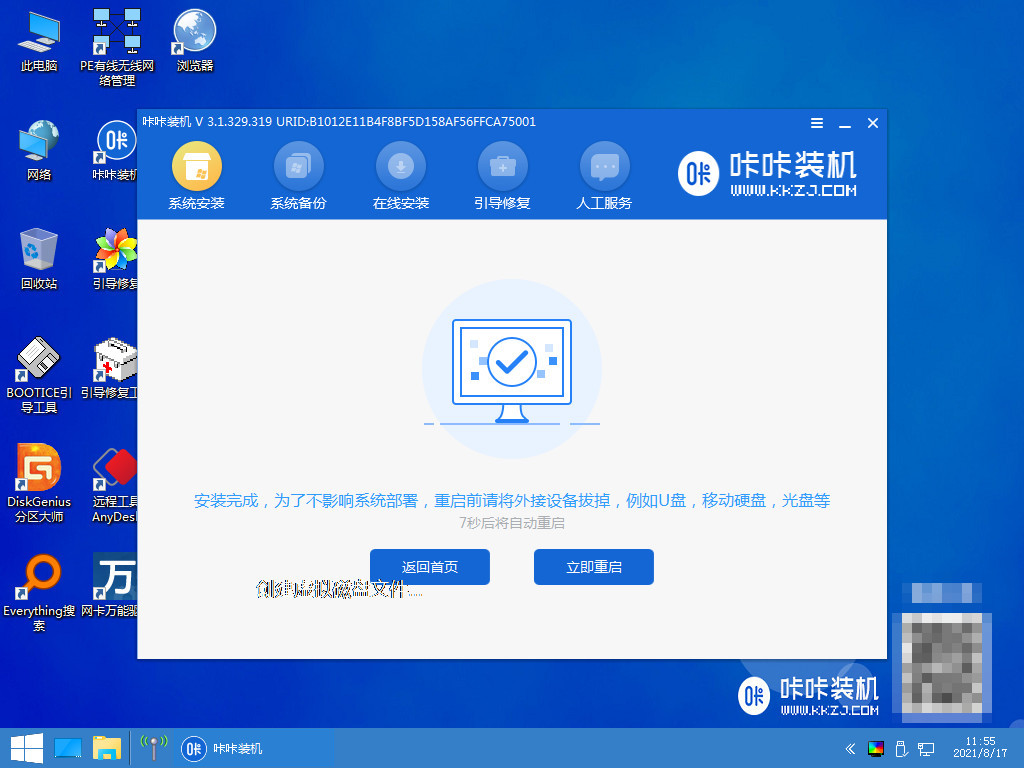
9、请大家等待系统重启中。
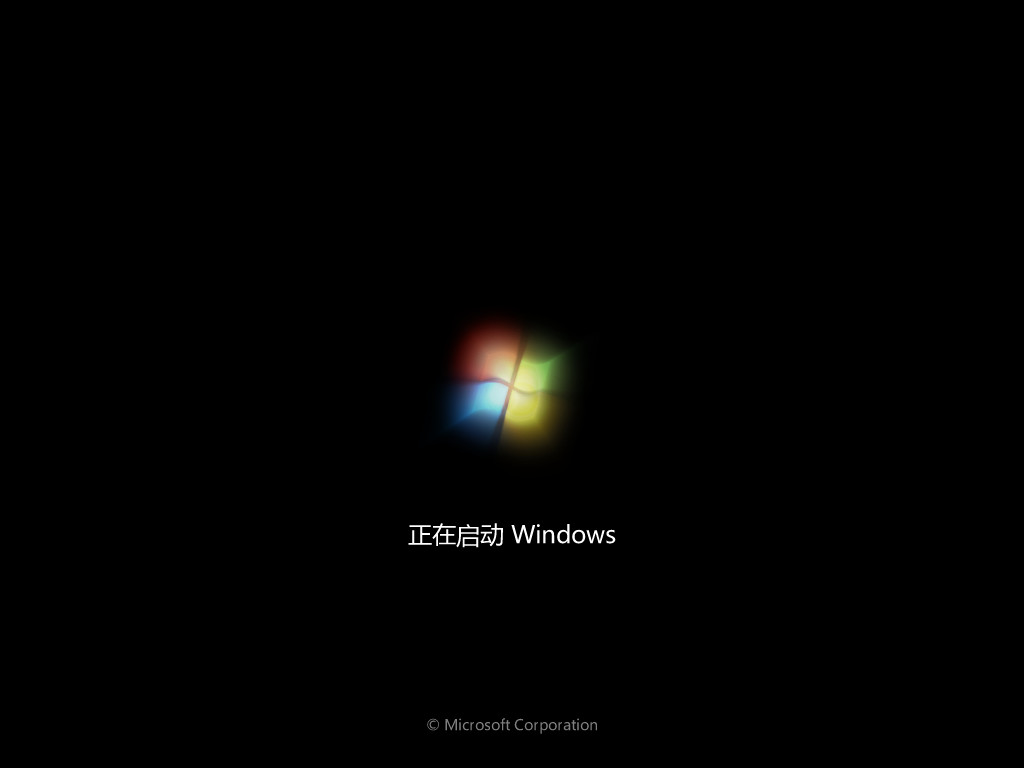
10、重启电脑完成后进入系统桌面,即说明重装win7系统完成。
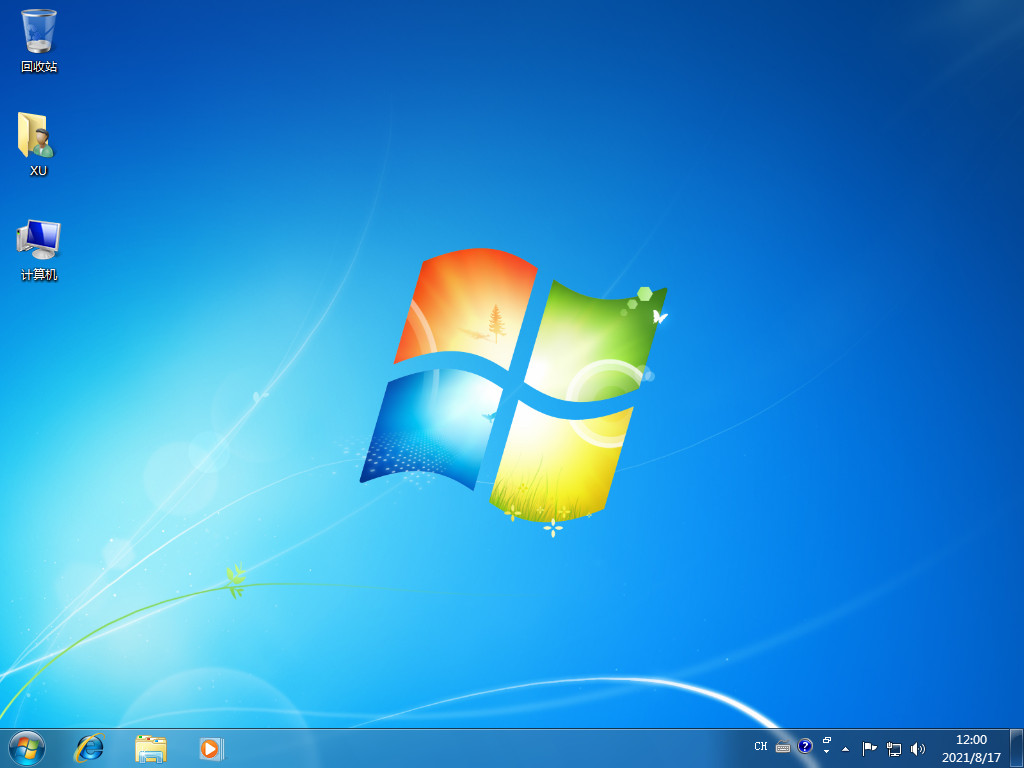
方法二:u盘重装win7
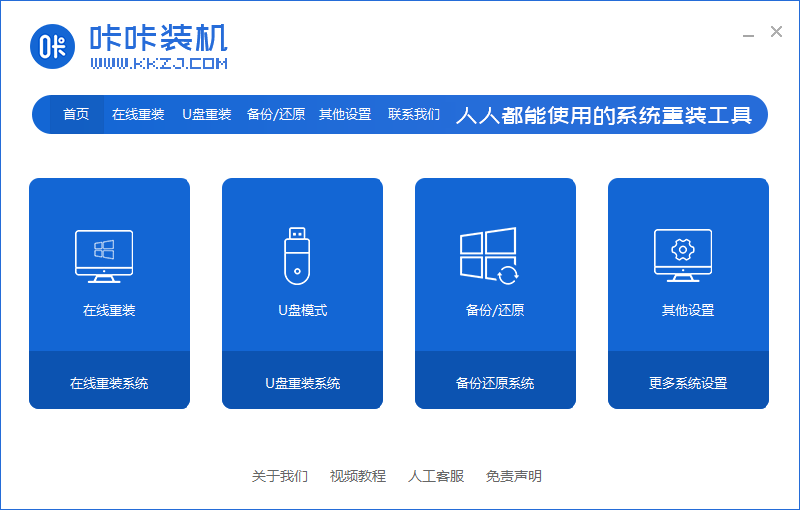
1、下载安装咔咔装机软件到电脑上,将u盘插入电脑接口,点击u盘重装系统。
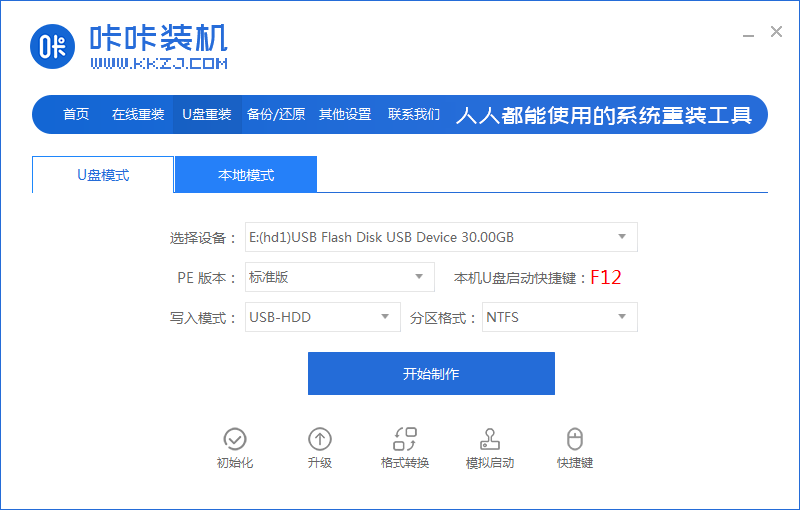
2、进入后,鼠标点击本地模式,设备栏选好自己的u盘,鼠标点击开始制作。
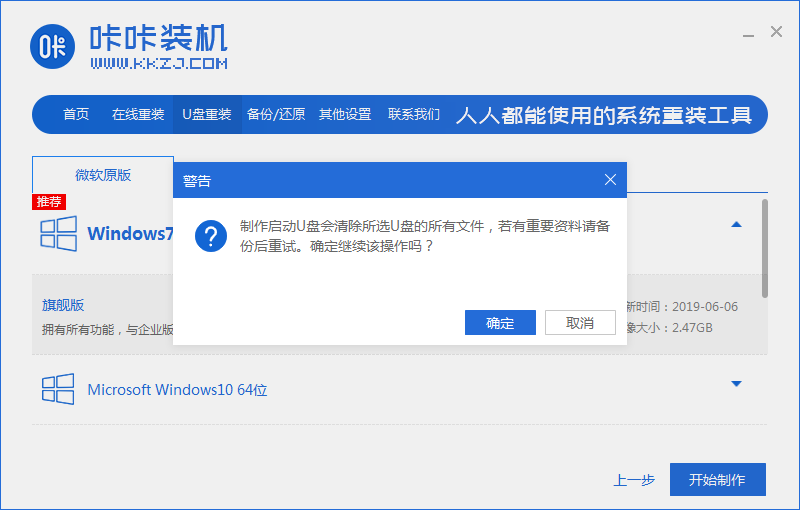
3、选择我们需要安装的系统版本,点击开始制作。

4、确认好u盘内的重要资料都已保存妥当,鼠标点击确定。
5、耐心等待下载制作启动u盘的资源。
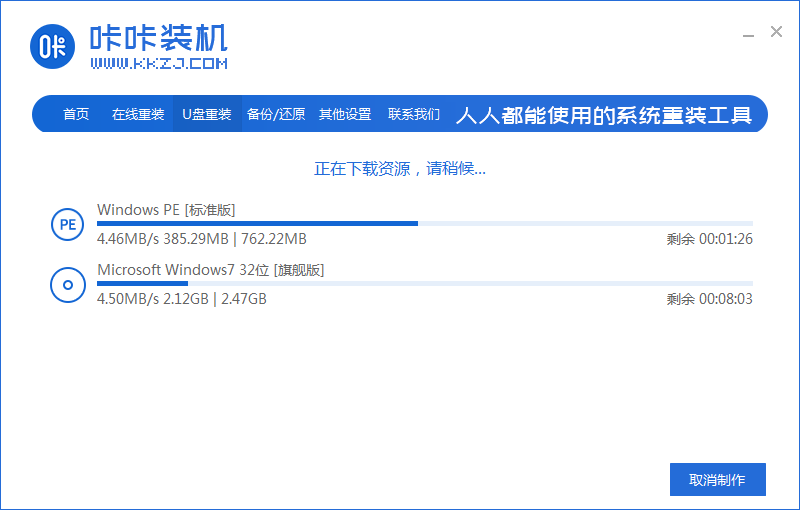
6、下载完毕后开始自动进入制作u盘的过程。
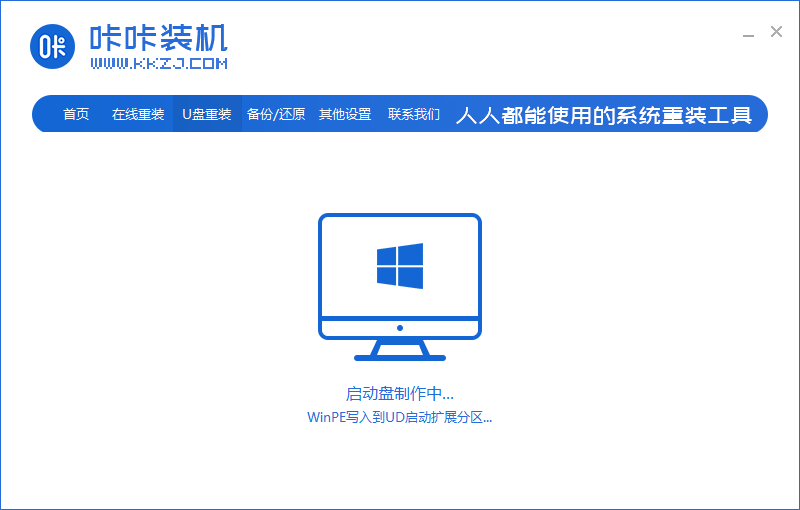
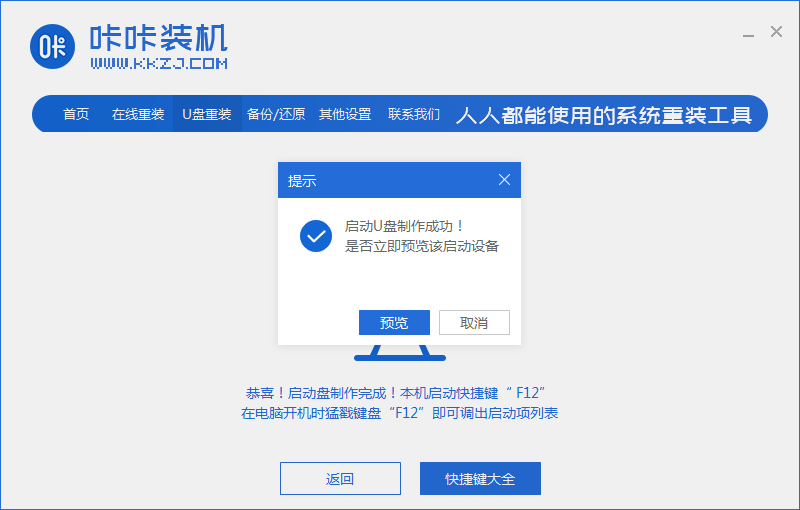
7、提示u盘制作成功后,鼠标点击取消,记住自己电脑型号的启动热键,选择重启电脑。
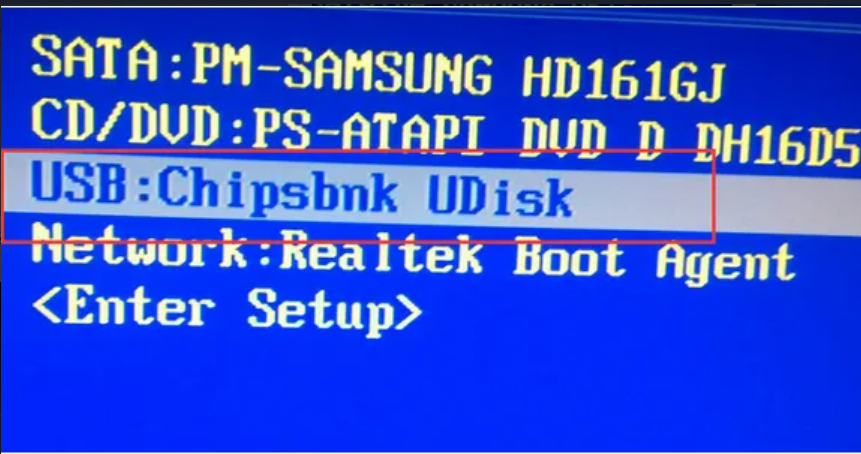
8、开机后快速按热键进入bois,选择USB选项,回车。
9、耐心等待系统自动重装。
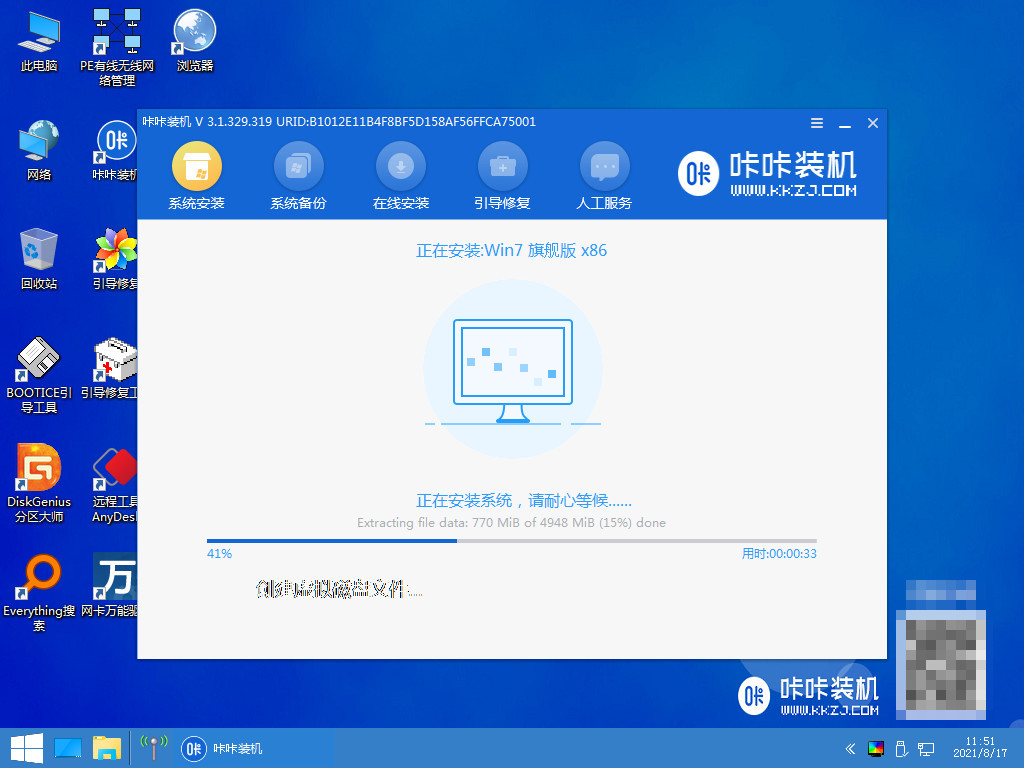
10、提示安装完成后,鼠标点击立即重启。
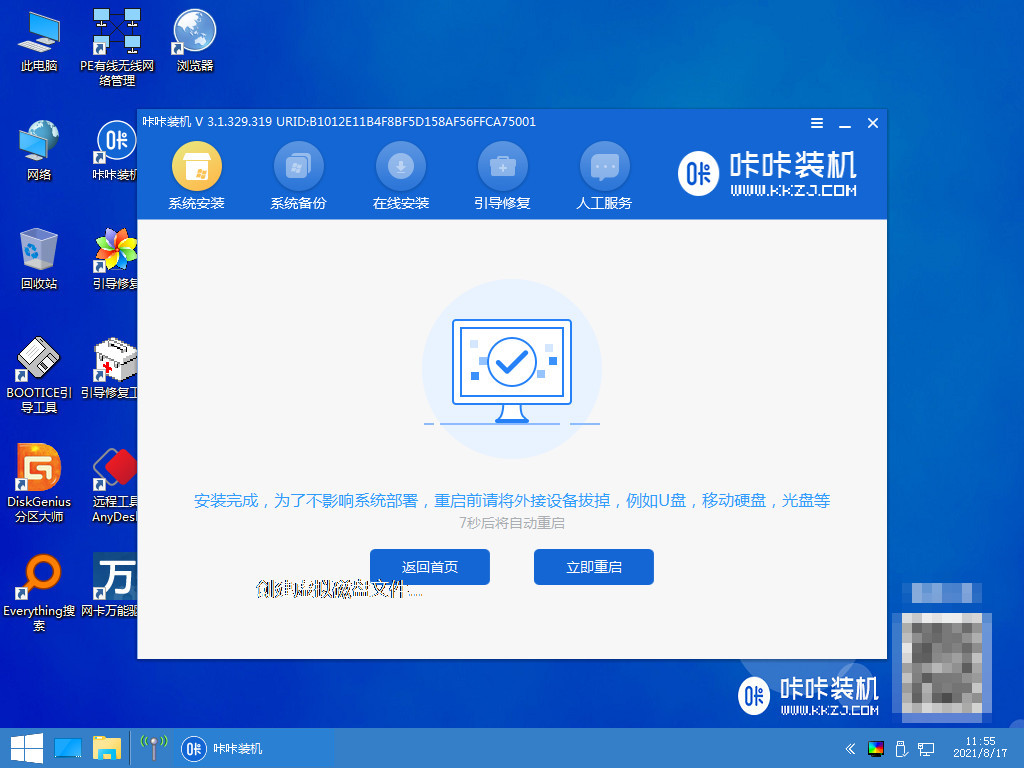
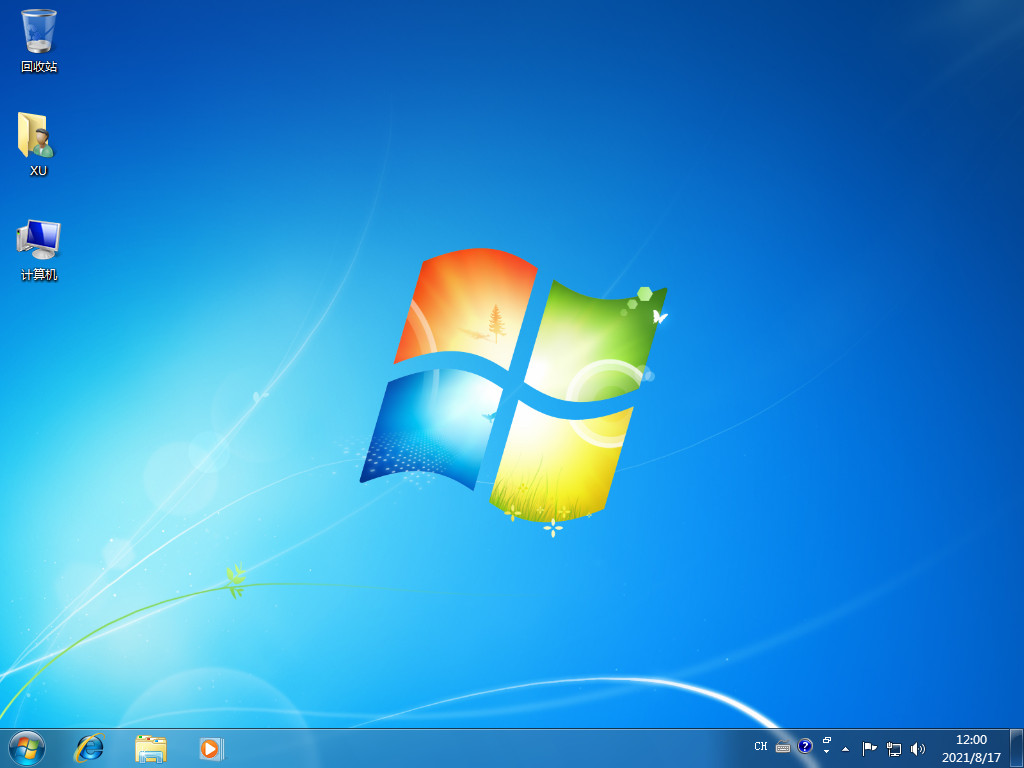
11、重启电脑完成后进入系统桌面,即表示重装win7系统完成。
总结:
1、一键重装装win7;
2、u盘重装win7。
 有用
26
有用
26


 小白系统
小白系统


 1000
1000 1000
1000 1000
1000 1000
1000 1000
1000 1000
1000 1000
1000 1000
1000 1000
1000 1000
1000猜您喜欢
- win7镜像文件gho怎么安装的教程..2021/11/23
- 图表系统组建失败,小编教你玩DNF时图..2018/09/03
- 重装系统win7后没有声音2022/10/22
- 手动安装Win7系统指南2023/12/27
- 小编教你电脑屏幕抖动2018/11/19
- 正版系统多少钱?Win7价格揭秘!..2024/01/27
相关推荐
- w7系统下载后怎么安装2022/12/30
- Windows操作系统:从Win7到Win8、Win10..2023/12/16
- 小编教你win7系统下怎么关闭任务栏缩..2019/01/05
- win7台式机光盘重装系统步骤..2024/02/02
- window7怎么激活2022/09/08
- Win7升级Win10,畅享全新体验..2023/12/11


 关注微信公众号


