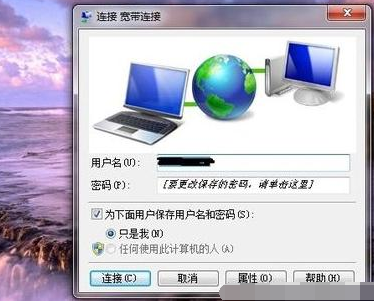
教你win7如何创建宽带连接
- 分类:Win7 教程 回答于: 2020年07月16日 16:30:02
下面是教你如何创建win7宽带连接的步骤:
1.单击“开始”,然后选择“控制面板”。

2.然后在控制面板主页上。

3.单击控制面板中的“网络和Internet”,如下所示

4.在下一个菜单中单击“网络和共享中心”

5.在下一个子菜单中,单击“更改网络设置”-“设置新连接或网络”

6.单击“打开”菜单中的“连接到Internet”,然后单击“下一步”继续,直到我们建立了新的连接。如果在下一步中有很多连接可供选择,请单击“宽带连接”选项,然后进行下一步就可以了。


上述如何创建win7宽带连接的图文教程。
 有用
31
有用
31


 小白系统
小白系统


 1000
1000 1000
1000 1000
1000 1000
1000 1000
1000 1000
1000 1000
1000 1000
1000 1000
1000 1000
1000猜您喜欢
- 电脑显示器,小编教你电脑显示器亮度怎..2018/03/23
- 深度技术Ghost windows7 64位旗舰版系..2017/06/10
- win7重装系统所需时间大约为多长?..2023/11/22
- 电脑蓝牙怎么开,小编教你打开电脑蓝牙..2018/02/03
- win7系统还原重置操作方法教程..2021/03/06
- 制作系统U盘Win7的详细步骤2023/12/25
相关推荐
- win7系统蓝牙设置与使用指南..2023/10/23
- 新电脑怎么装系统win7教程2022/07/14
- U盘重装Win7系统,轻松解决电脑问题..2023/12/11
- 获取免费有效的win7产品密钥!..2024/04/12
- 电脑系统如何重装win7图解2022/08/11
- 简述怎么样重装系统win72023/04/29


 关注微信公众号


