电脑win11系统小白装机教程
- 分类:Win11 教程 回答于: 2023年03月17日 09:11:00
工具/原料:
系统版本:win11专业版
品牌型号:华为MateBook X
软件版本:小白三步装机版1.0 & 小白一键重装系统v2990
方法/步骤:
方法一:一键重装win11
1、首先下载安装小白三步装机版软件,选择win11系统,点击立即重装。

2、等待软件下载搜集安装系统所需要的各种资源。

3、等待软件自动安装。
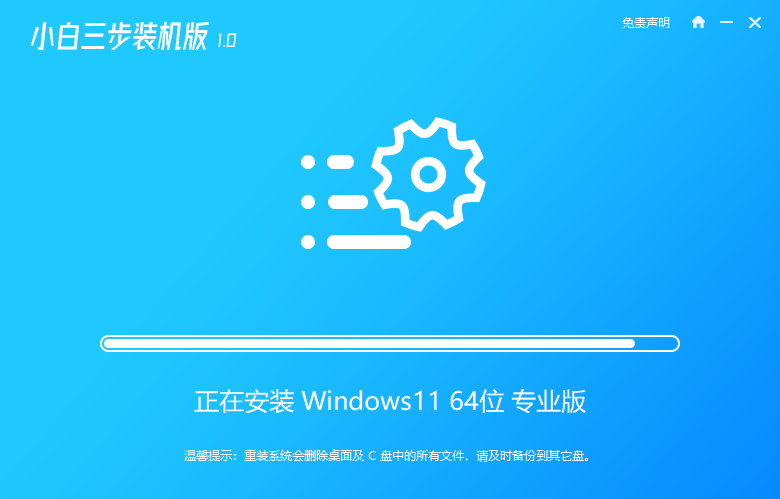
4、安装完成后点击立即重启。

5、重启后进入启动管理器界面,选择第二项,回车。
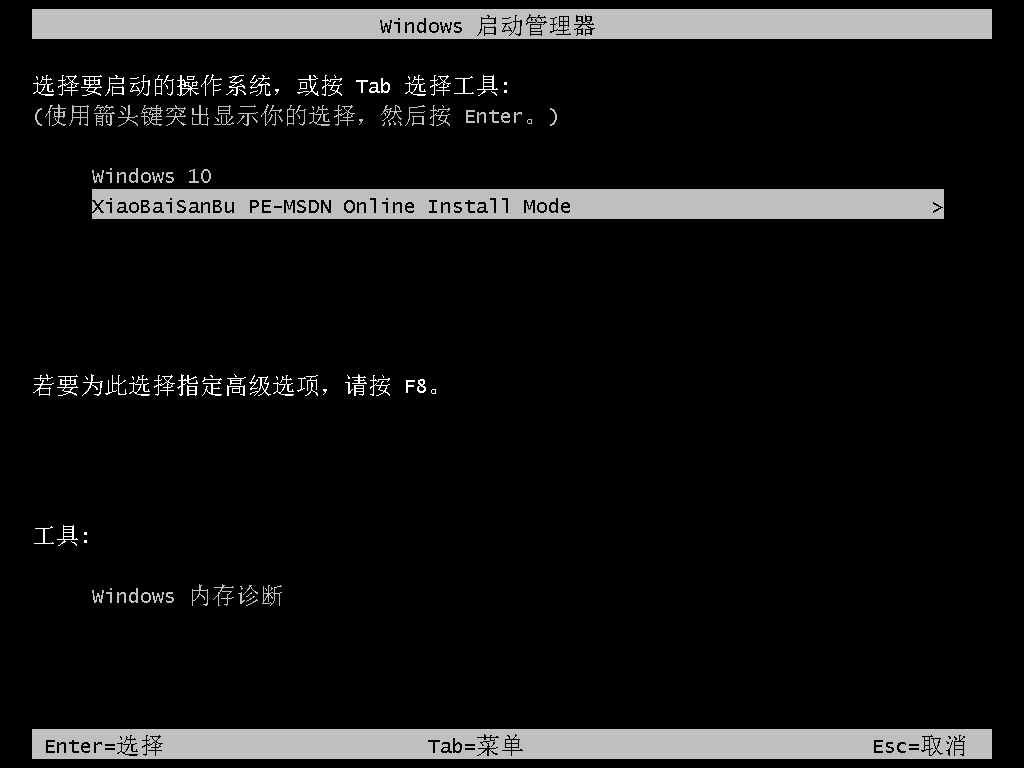
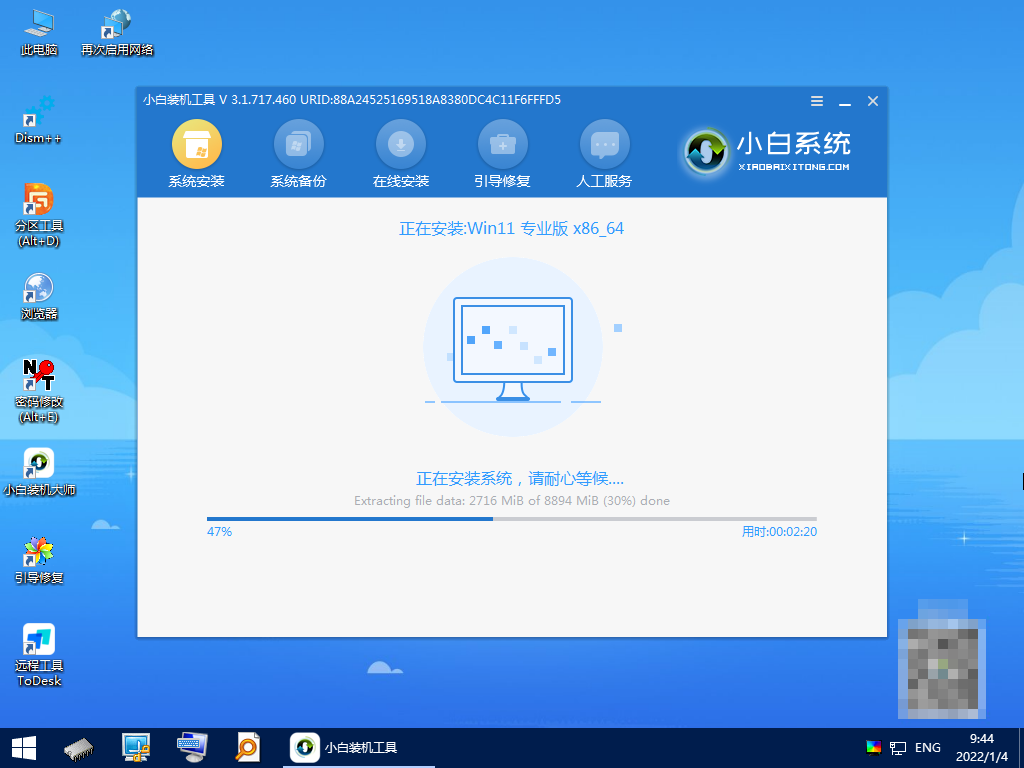
6、等待系统自动安装。
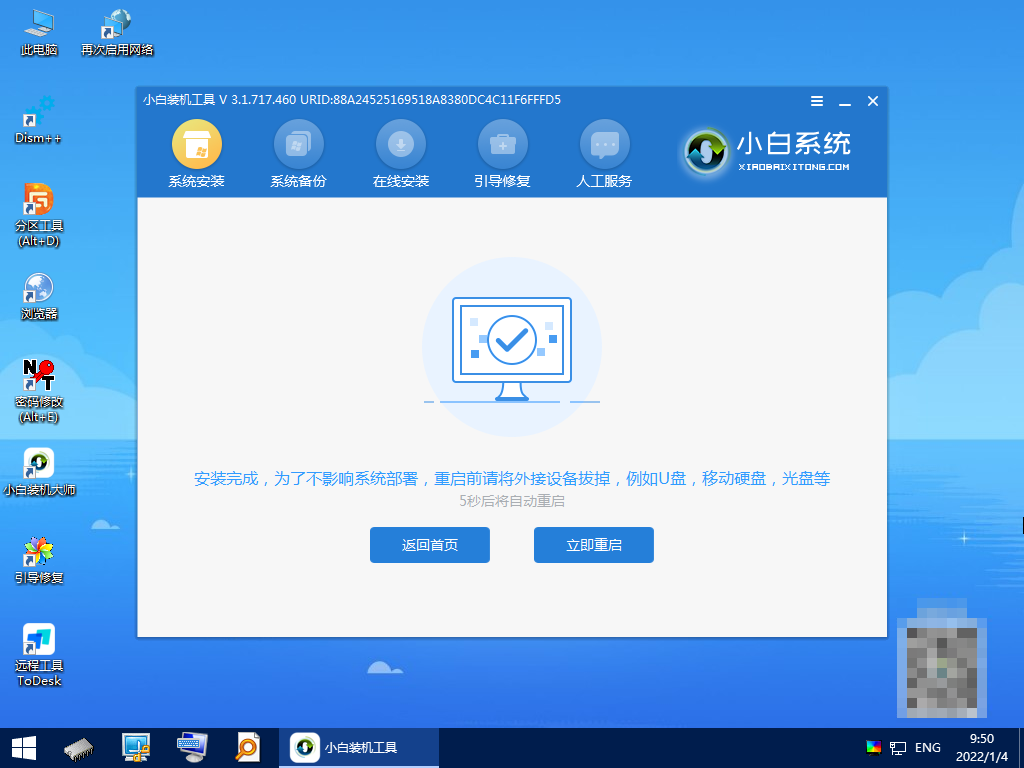
7、系统安装完成后按提示点击立即重启。
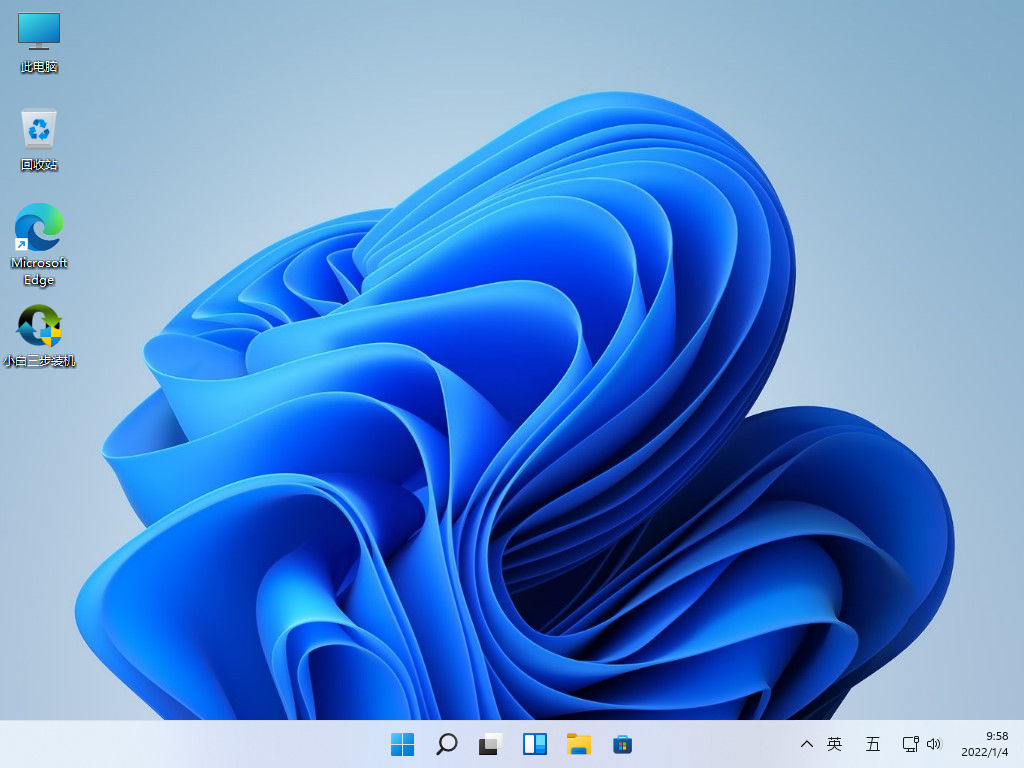
8、进入系统桌面,安装完成。
1、下载小白软件后,将u盘插入好用的电脑,打开软件,点击开始制作启动盘。

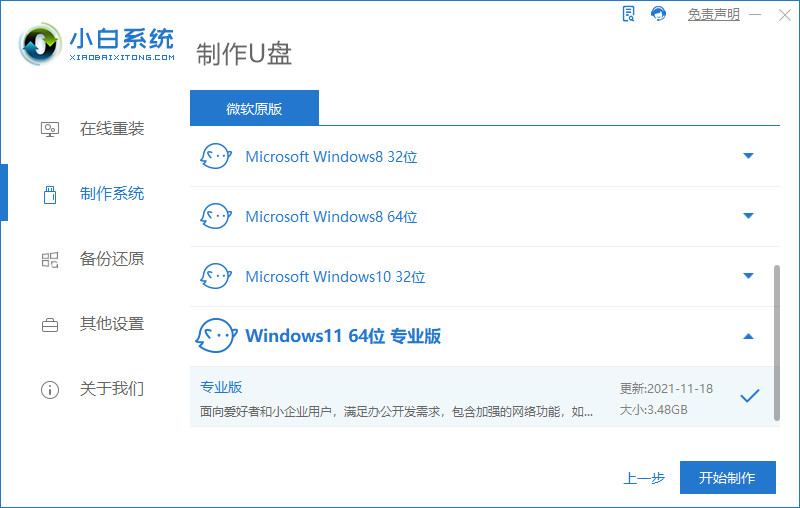
2、选择好要制作的系统版本,点击开始制作。
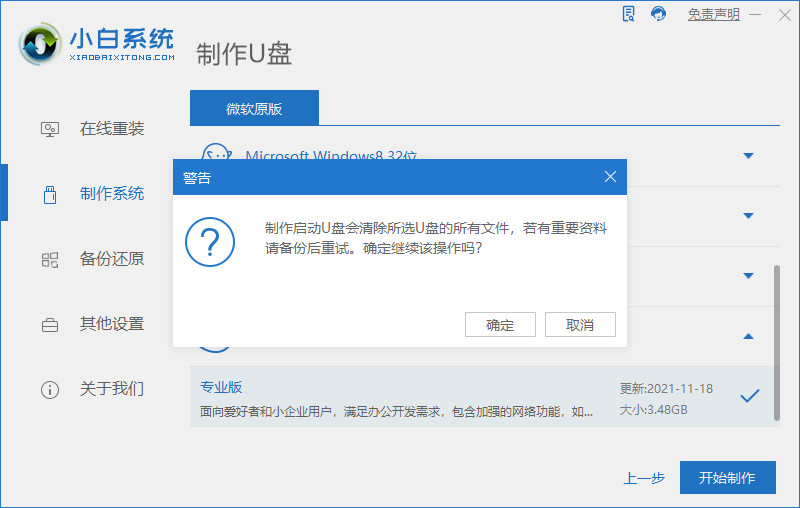
3、确认好已备份好所有资料,点击确定。
4、等待下载安装系统所需要的各种资源。

5、提示u盘制作完成后点击取消。

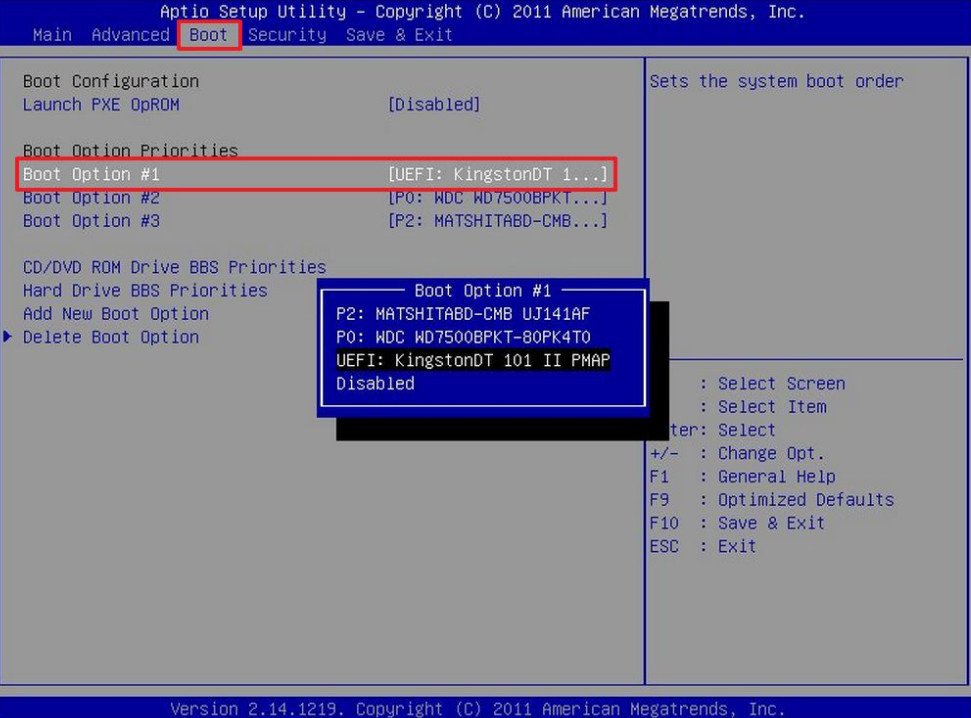
6、将u盘插入要安装系统的电脑,开机按启动热键进入系统,点击Boot选项卡,选择Boot Option #1项,回车。
7、等待系统自动安装。
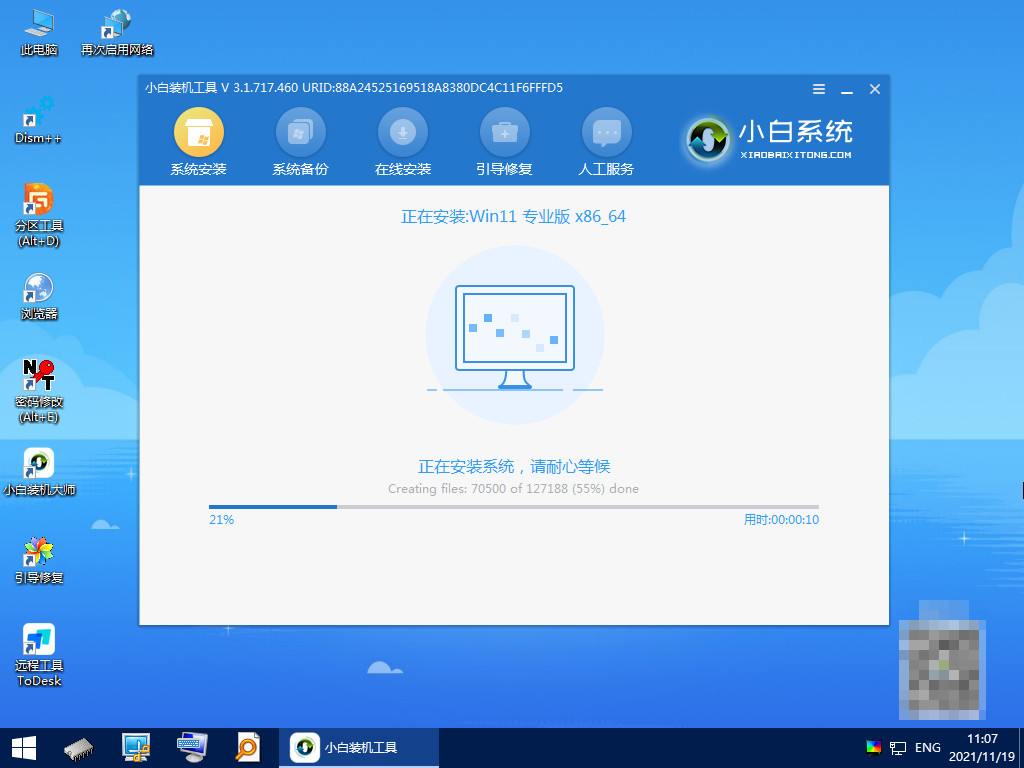
8、提示安装完成后点击立即重启。
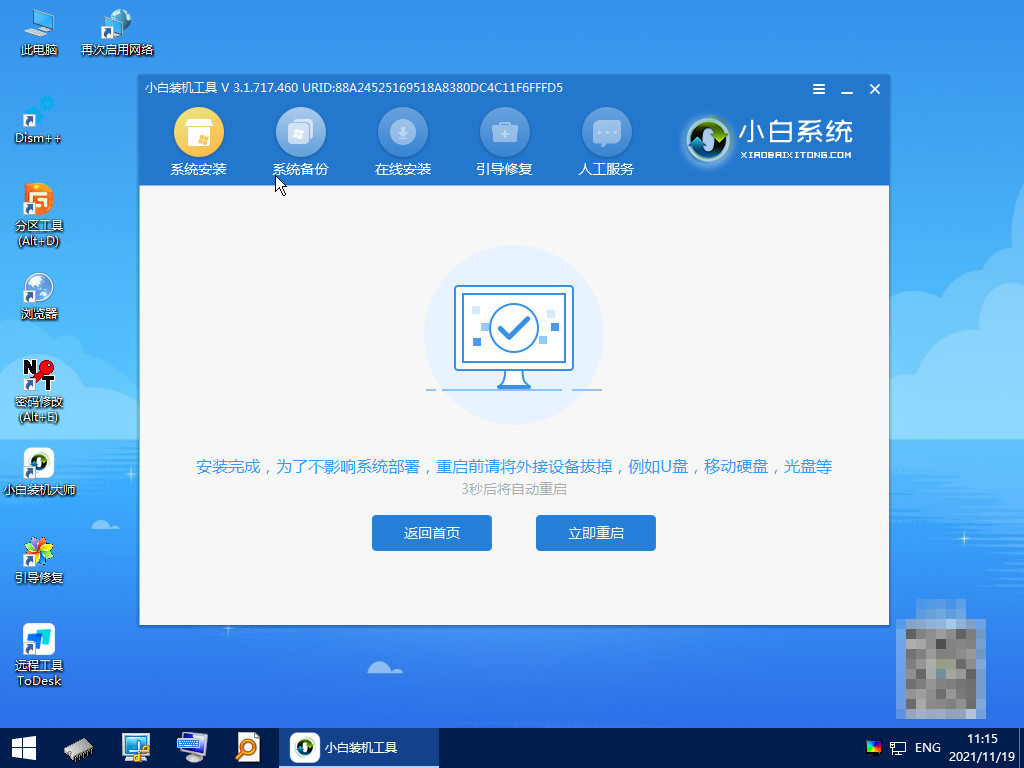
9、进入系统桌面,安装完成。

方法三:ghost还原win11
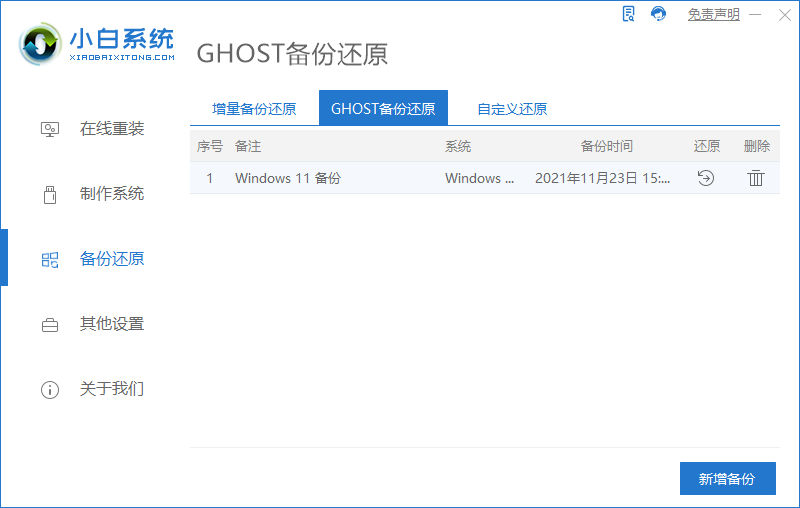
1、下载安装小白系统软件,点击GHOST备份还原,点击要还原的系统版本。
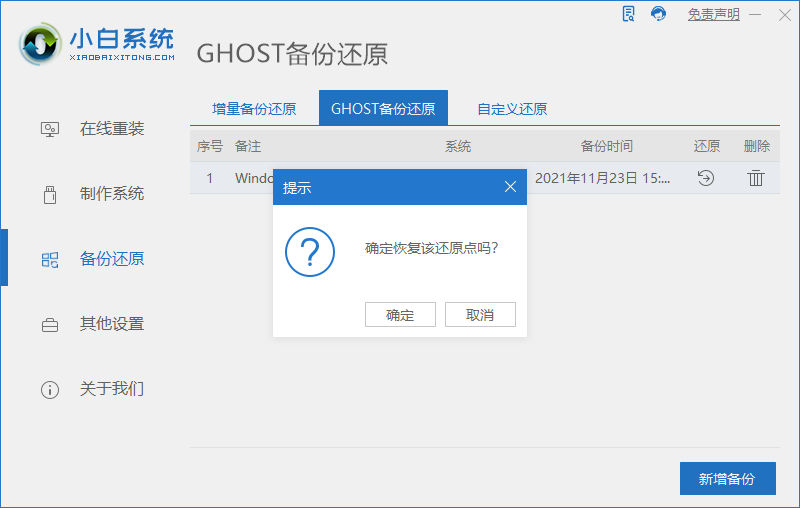
2、当出现提示是否恢复该还原点时,点击确定。
3、等待软件部署系统环境,只需等待,不需任何操作。

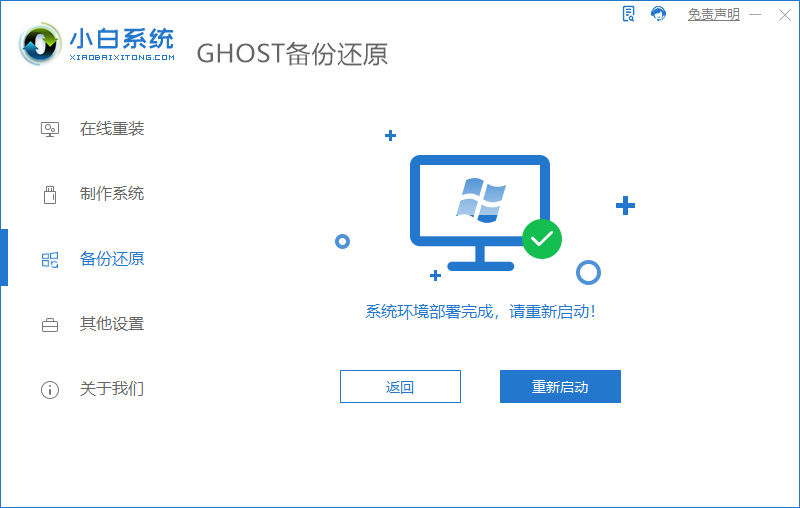
4、提示系统环境部署完成后,按提示点击重新启动。
5、进入启动管理界面,将光标移动到第二项,点击回车。

6、等待系统自动安装。

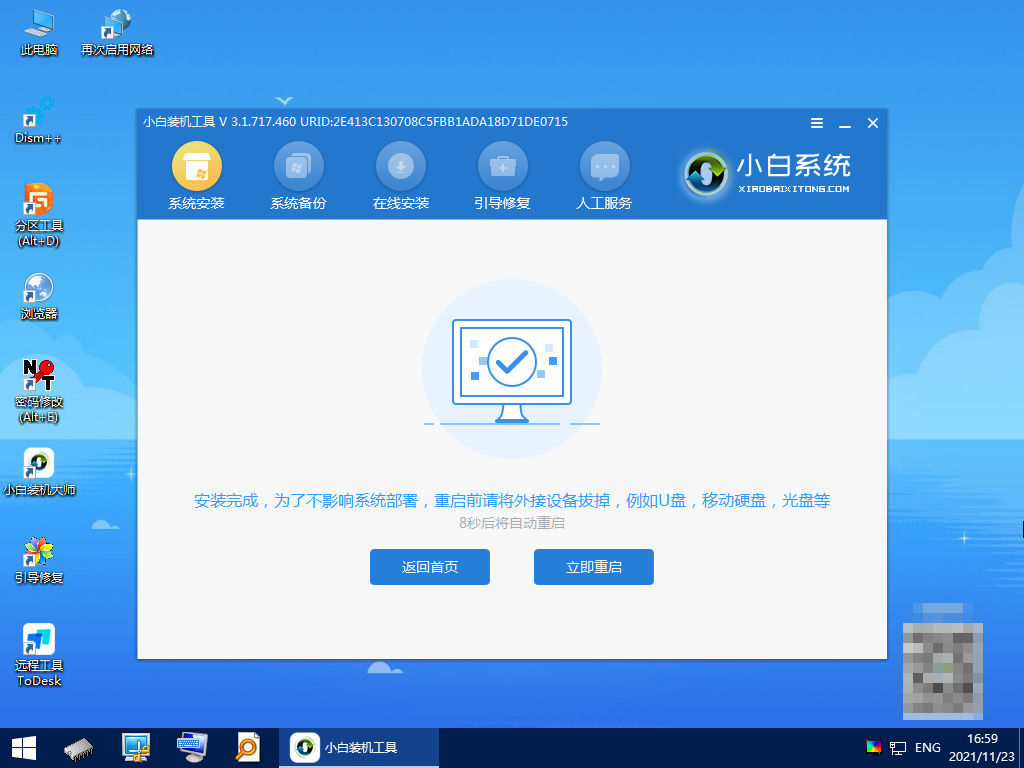
7、提示安装完成后,点击立即重启。
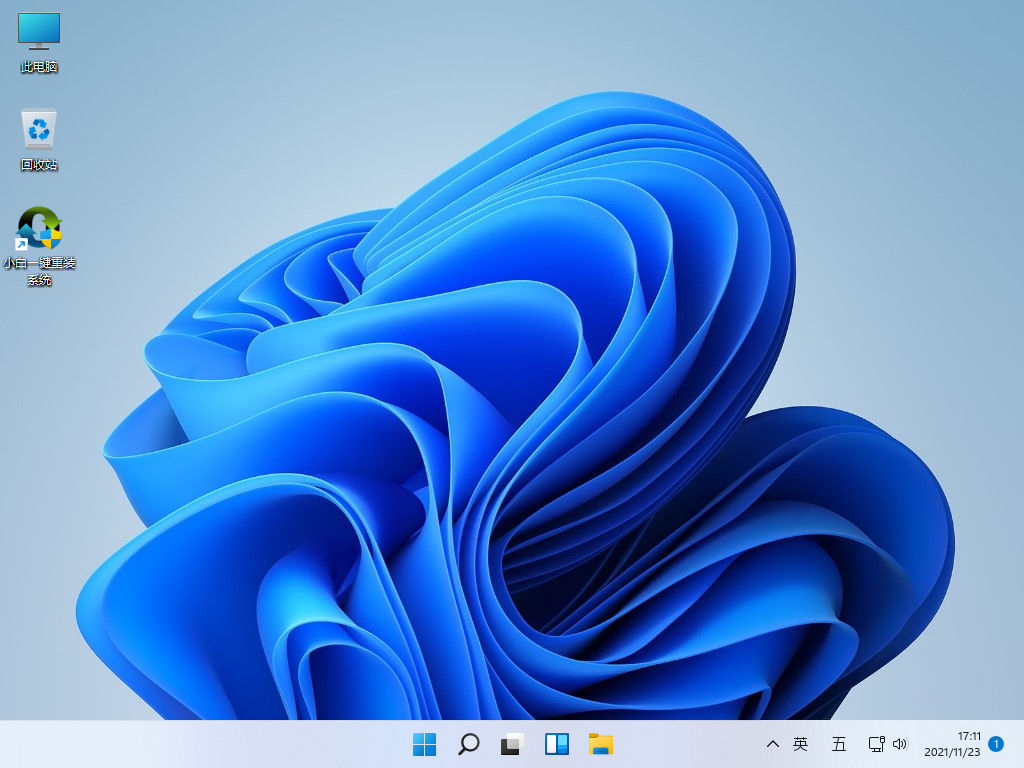
8、进入到系统桌面,完成。
总结:
1、一键重装win11
2、u盘重装win11
3、ghost还原win11
 有用
26
有用
26


 小白系统
小白系统


 1000
1000 1000
1000 1000
1000 1000
1000 1000
1000 1000
1000 1000
1000 1000
1000 1000
1000 0
0猜您喜欢
- win11任务栏设置不合并的方法..2022/05/30
- 怎么快速安装win11系统教程2022/10/22
- win11任务栏靠左怎么设置2022/06/29
- 笔记本win11系统安装教程2021/09/28
- Win11制冷模式:你知道在哪里找吗?..2023/11/15
- Win11移除Hyper-V设置教程,助你提升系..2024/09/27
相关推荐
- 小白怎么安装win11系统的图文教程..2021/10/13
- 怎么装电脑系统win112023/01/14
- win11 浏览器工具栏如何打开..2021/09/25
- Win11应用和功能位置2024/02/02
- 电脑重装系统软件怎么安装win11..2022/06/07
- Win11如何修复网络故障?全面解决方案与..2024/08/17


 关注微信公众号


