win11开机后白屏怎么办
- 分类:Win11 教程 回答于: 2023年01月30日 09:45:49
win11系统在正常操作的情况下,突然白屏让很多小伙伴不知所措,因为系统一般出现问题都是蓝屏,那么win11开机后白屏怎么办呢?下面小编分享下解决win11开机后白屏的办法。
工具/原料:
系统版本:win11家庭版
品牌型号:宏碁非凡S3X
软件版本:小白一键重装系统v2990
方法/步骤:
方法一:结束任务重新启动
1、按 Ctrl + Alt + Del 组合键,然后点击任务管理器。

2、点击左下角的详细信息,默认显示进程选项卡,下滑找到Windows 资源管理器进程,单击Windows 资源管理器进程,然后点击右下角的重新启动。
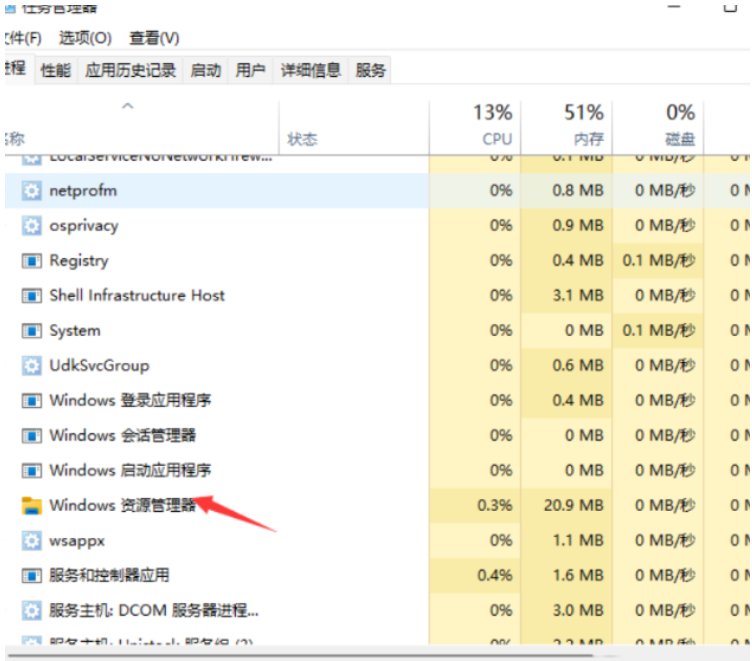
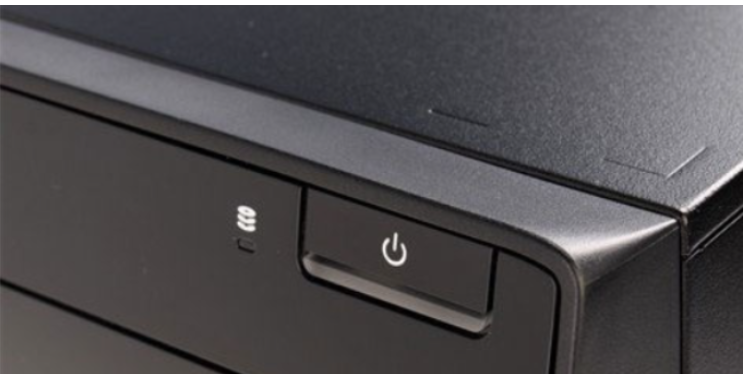
3、重启后还是白屏我们就强制关机再启动电脑即可。
方法二:禁用Microsoft服务
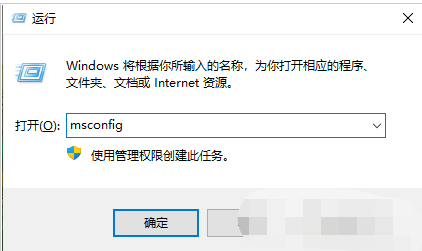
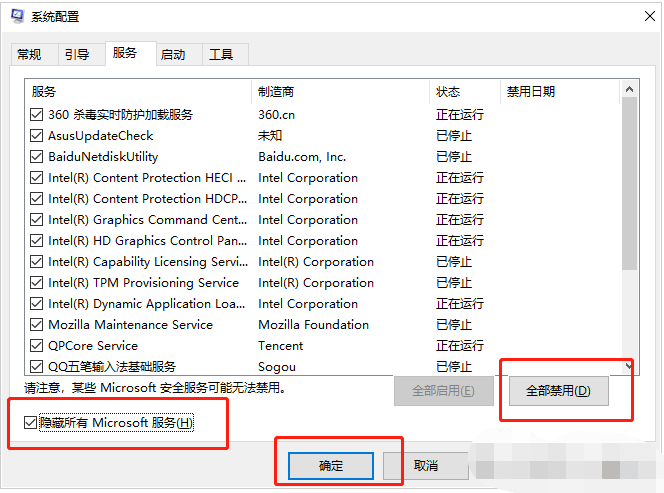
1、win+r运行msconfig。
2、“常规”选项卡选择“正常启动”。

3、然后再选择“服务”选项卡,勾选“隐藏所有Microsoft服务”。
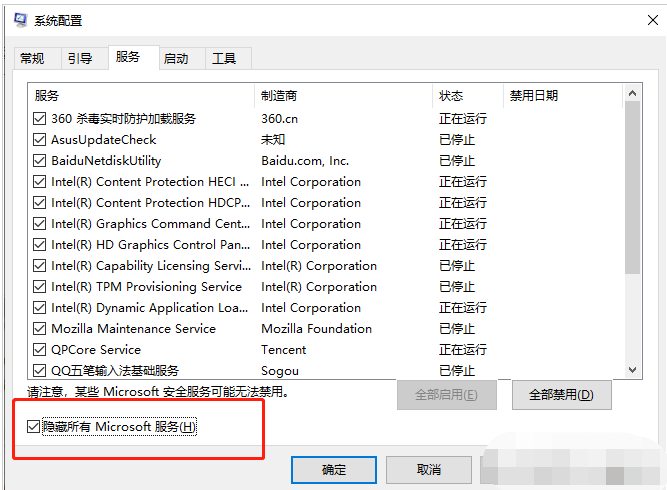
4、再点击“全部禁用”,重启电脑后就解决了。
方法三:u盘重装系统
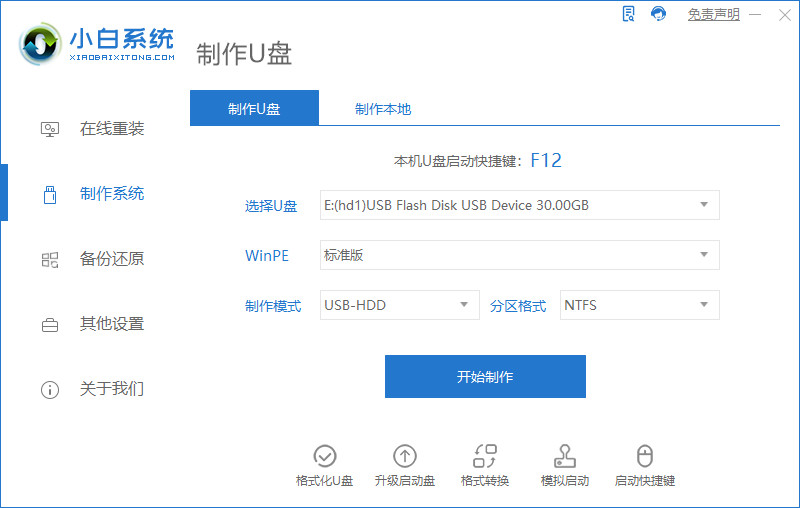
1、下载小白软件后,将u盘插入好用的电脑,打开软件,点击开始制作启动盘。
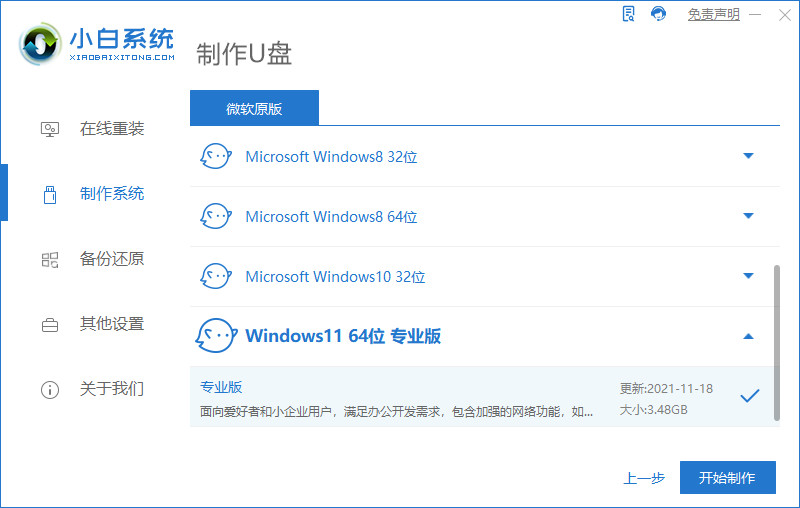
2、选择好要制作的系统版本,点击开始制作。
3、确认好已备份好所有资料,点击确定。

4、等待下载安装系统所需要的各种资源。

5、提示u盘制作完成后点击取消。

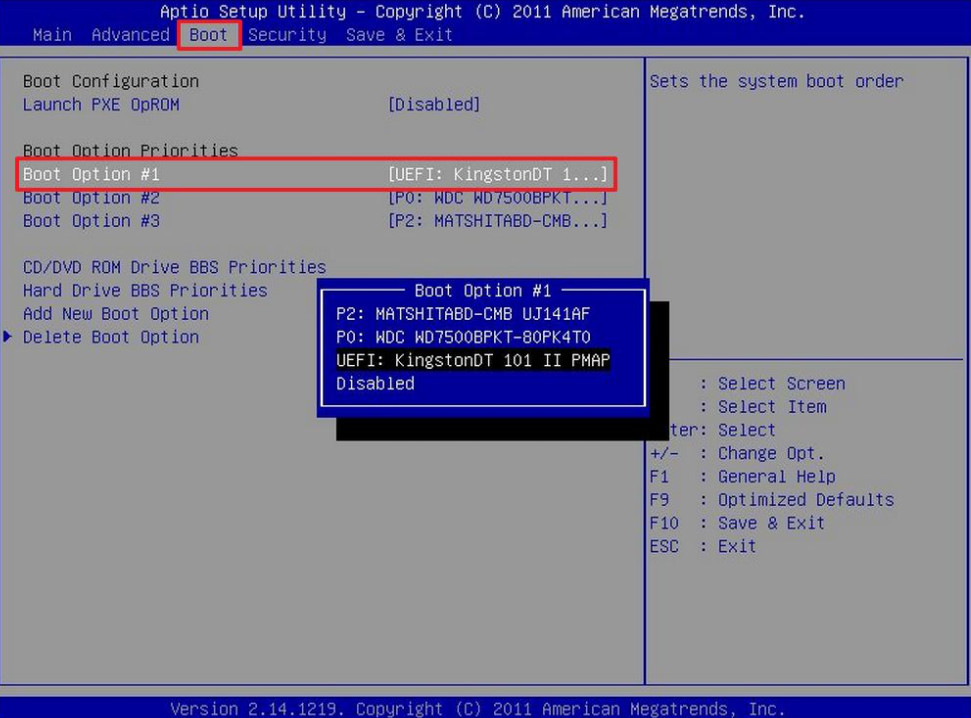
6、将u盘插入要安装系统的电脑,开机按启动热键进入系统,点击Boot选项卡,选择Boot Option #1项,回车。
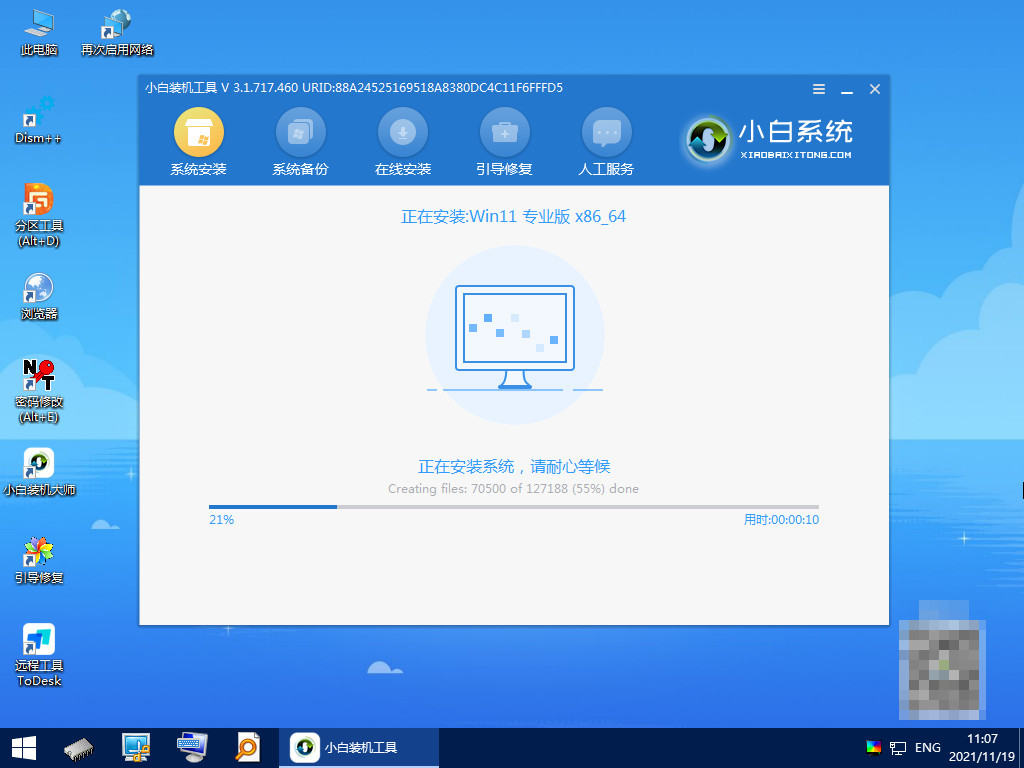
7、等待系统自动安装。
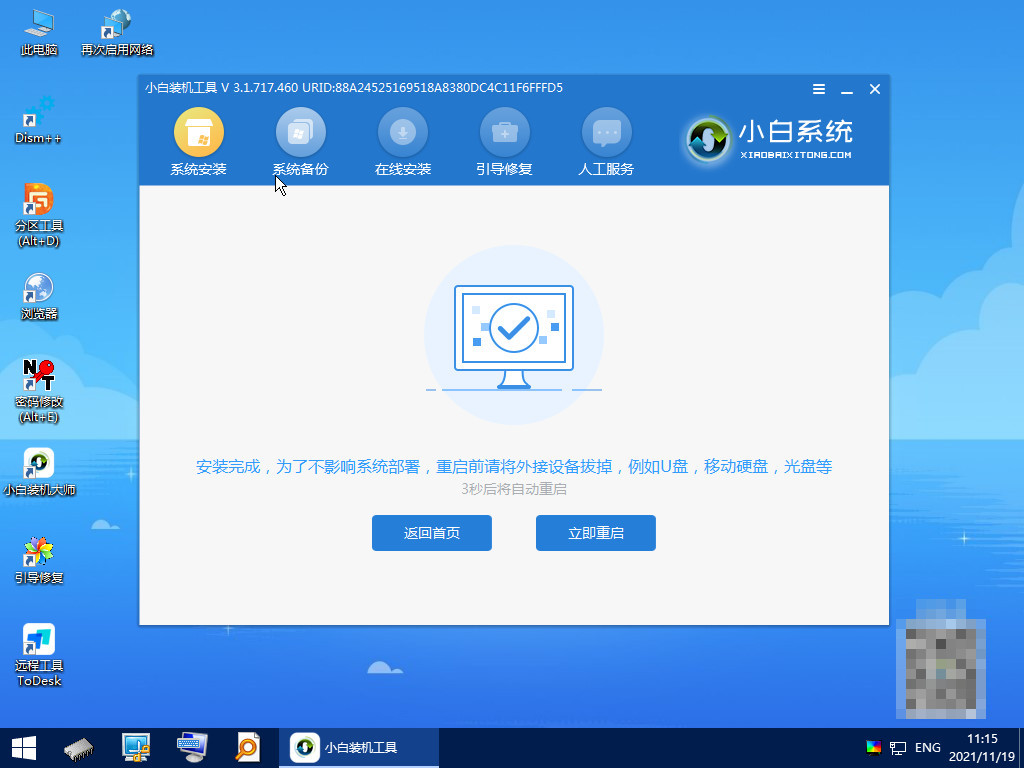
8、提示安装完成后点击立即重启。
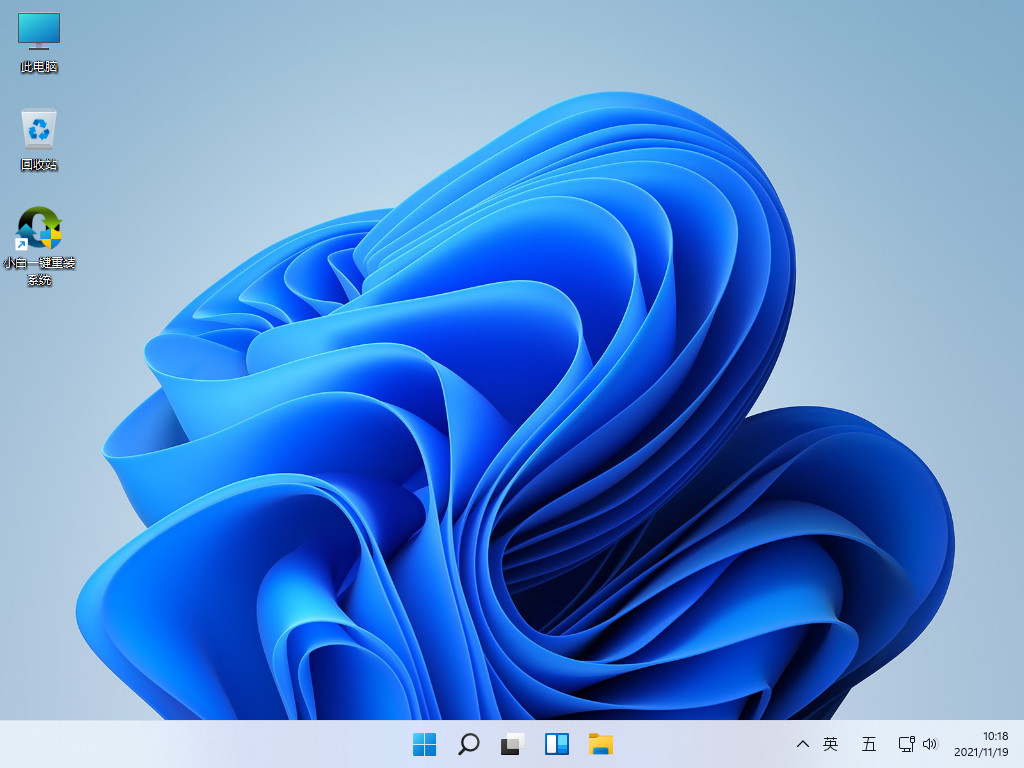
9、进入系统桌面,安装完成。
总结:
1、结束任务重新启动
2、禁用Microsoft服务
3、U盘重装系统
 有用
26
有用
26


 小白系统
小白系统


 1000
1000 1000
1000 1000
1000 1000
1000 1000
1000 1000
1000 1000
1000 1000
1000 1000
1000 0
0猜您喜欢
- Win11扫描仪快捷方式轻松添加至桌面..2023/12/21
- Win11设置本地连接IP的方法2024/03/05
- 电脑win11改win10系统教程图解..2022/10/18
- win11文件复制问题解决方法2023/11/22
- win11之家awin11如何安装2022/12/09
- 安装win11一定要uefi吗2022/03/16
相关推荐
- win11官网下载安装的步骤教程..2021/07/02
- 哪个win11版本系统最好2021/12/05
- 提示升级win11怎么关闭 如何取消win11..2023/01/07
- win11鼠标灵敏度怎么调2022/08/03
- win11安装卡68怎么解決2022/10/25
- 解决Win11投屏失败问题的实用指南..2024/08/14


 关注微信公众号


