电脑用u盘重装系统教程
- 分类:U盘教程 回答于: 2023年02月06日 11:30:00
电脑如何u盘重装系统?很多朋友对一键重装系统比较熟悉,但是不清楚怎么用u盘重装系统。有网友最近就咨询小编电脑如何u盘重装系统,下面小编就把电脑用u盘重装系统教程分享给大家。
工具/原料:
系统版本:win11专业版 & win7旗舰版 & win10专业版
品牌型号:戴尔成就5880
软件版本:小白一键重装系统v2990 & 咔咔装机工具v3.1.329.319 &小鱼装机工具v3.1.329.319
方法/步骤:
方法一:使用小白一键重装系统u盘重装win11
1、下载小白软件后,将u盘插入好用的电脑,打开软件,点击开始制作启动盘。

2、选择好要制作的系统版本,点击开始制作。

3、确认好已备份好所有资料,点击确定。

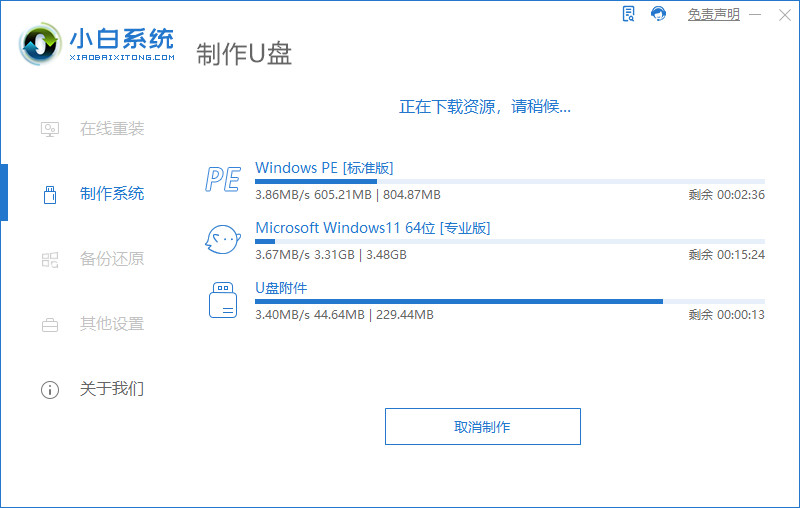
4、等待下载安装系统所需要的各种资源。

5、提示u盘制作完成后点击取消。

6、将u盘插入要安装系统的电脑,开机按启动热键进入系统,点击Boot选项卡,选择Boot Option #1项,回车。

7、等待系统自动安装。

8、提示安装完成后点击立即重启。

9、进入系统桌面,安装完成。

方法二:使用咔咔装机工具u盘重装win7
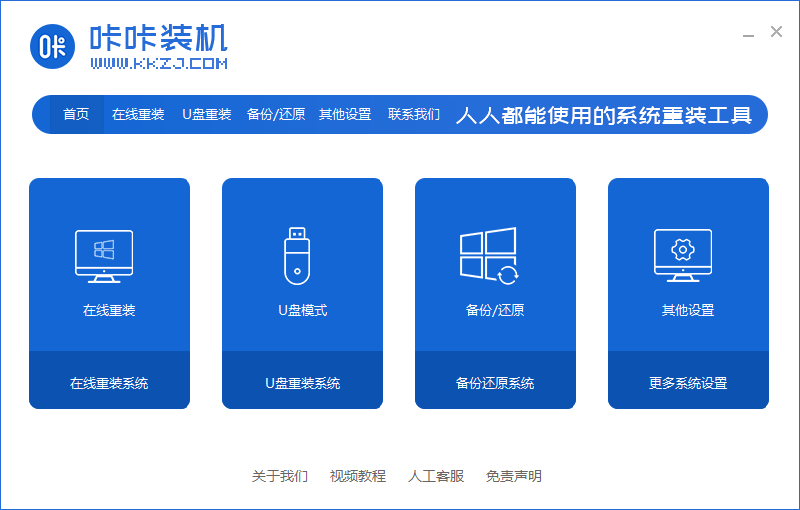
1、首先需要准备好一个不低于8G的u盘,下载安装咔咔装机软件,将u盘插入电脑,点击u盘重装系统。

2、进入后点击本地模式,设备栏选好自己的u盘,点击开始制作。

3、选择要按装的系统版本,点击开始制作。

4、确认好u盘内的重要资料都已保存妥当,点击确定。

5、等待下载制作启动u盘的资源。

6、下载完毕后自动进入制作u盘的过程。

7、提示u盘制作成功后,点击取消,记住自己电脑型号的启动热键,重启电脑。

8、开机后按热键进入bois,选择USB选项,回车。

9、等待系统自动重装。

10、提示安装完成后点击立即重启。

11、重启完成后进入系统桌面,安装完成。

方法三:使用小鱼装机工具u盘重装win10
1、下载安装小鱼装机工具软件,将u盘插入电脑点击u盘重装系统,选择好自己的u盘设备,点击开始制作。

2、选择要安装的系统版本,点击开始制作。

3、确认备份好资料后点击确定。

4、等待软件下载安装系统所需要的各种资源。

5、等待启动盘制作中。

6、提示u盘制作完成后点击取消,记住电脑启动热键。

7、将u盘插入要重装系统的电脑,重启电脑进入bios,选择usb选项,回车。

8、等待系统自动安装。

9、确认在C盘内写入引导文件,点击确定。

10、安装完成后点击立即重启。

11、进入到系统桌面,安装完成。

总结:
1、使用小白一键重装系统u盘重装win11
2、使用咔咔装机工具u盘重装win7
3、使用小鱼装机工具u盘重装win10
 有用
79
有用
79


 小白系统
小白系统


 1000
1000 1000
1000 1000
1000 1000
1000 1000
1000 1000
1000 1000
1000 1000
1000 1000
1000 1000
1000猜您喜欢
- Windows10系统U盘安装指南2023/11/14
- u盘启动盘制作工具哪个好用..2022/08/11
- u盘装win7系统教程图解2021/10/18
- 如何用U盘安装电脑系统?详细步骤一览,轻..2024/10/11
- 重装系统时,U盘安装会导致D盘文件丢失..2024/01/26
- 如何免费恢复U盘数据?全面指南助您轻松..2024/10/07
相关推荐
- 电脑店U盘装系统步骤详解:快速掌握安装..2024/08/16
- 如何刷bios,小编教你联想电脑如何刷bi..2018/01/06
- 华硕主板怎么设置u盘启动2023/04/13
- 大白菜u盘装系统教程win72022/05/28
- u盘启动盘怎么装系统2022/07/15
- 小编教你怎么将U盘数据恢复..2017/08/23


 关注微信公众号


