电脑店u盘启动盘制作工具的使用方法
- 分类:U盘教程 回答于: 2022年07月10日 09:00:49
有朋友想知道电脑店u盘启动盘制作工具的使用方法,小编带来了使用步骤,希望能帮到大家。
工具/原料
系统版本:windows10专业版
品牌型号:联想组装机
软件版本:电脑店u盘启动盘制作工具6.8
方法步骤
1.u盘插到电脑当中,按下图操作

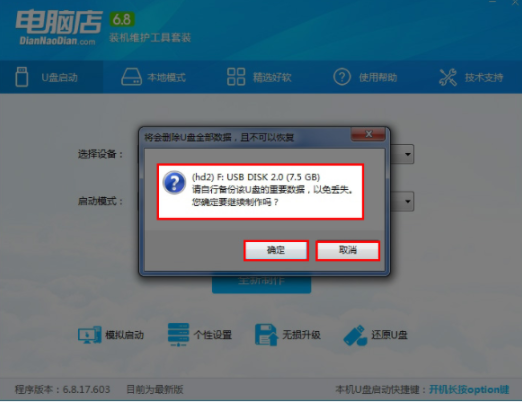
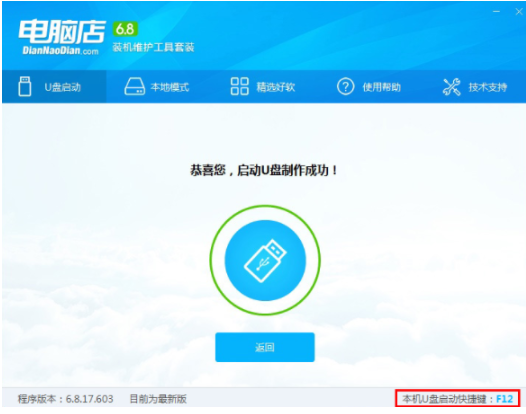
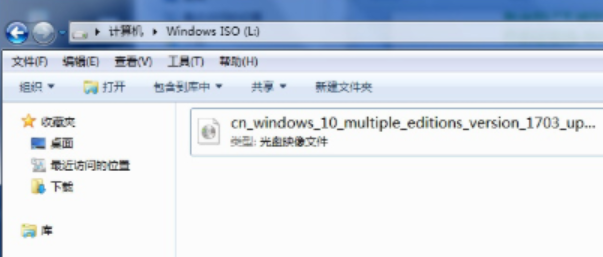
2.复制下载好的Windows系统镜像到U盘当中。
3.进入BIOS设置U盘启动顺序,用U盘启动电脑进入PE系统。
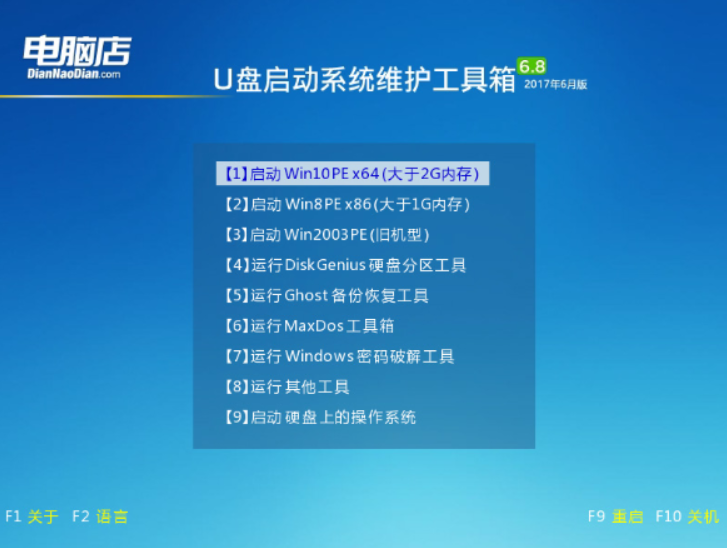
4.进入到pe后,打开工具选择系统镜像文件,等待自动识别和挂载后再次选择系统版本。
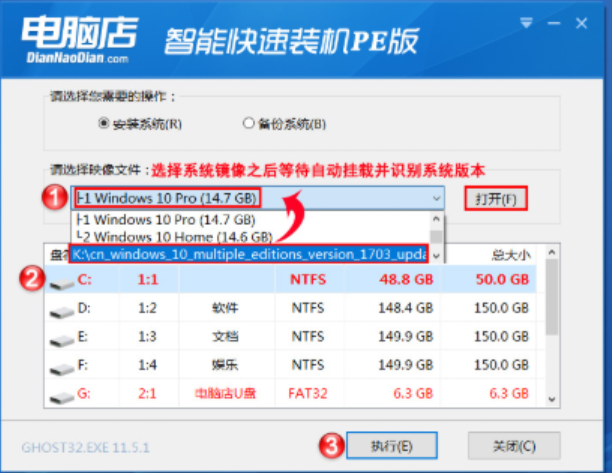
5.选择需要安装系统的分区,操作完成后点击执行即可完成u盘启动盘安装系统的操作。
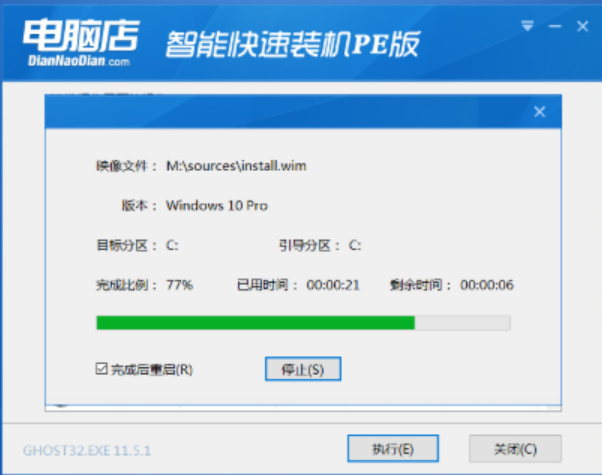

以上就是电脑店u盘启动盘制作工具的使用方法啦,希望能帮到大家。
 有用
33
有用
33


 小白系统
小白系统


 1000
1000 1000
1000 1000
1000 1000
1000 1000
1000 1000
1000 1000
1000 1000
1000 1000
1000 1000
1000猜您喜欢
- U盘安装W10系统的步骤2024/01/26
- 教大家u盘容量变小怎么恢复..2021/09/25
- u盘启动工具2022/07/08
- 联想笔记本U盘重装系统详细教程与常见..2024/10/06
- 电脑店u盘装系统教程,小编教你使用小..2017/11/10
- 联想笔记本u盘启动按哪个键..2022/09/08
相关推荐
- 小白装机u盘装系统步骤图解教程..2022/07/09
- 怎么把win10系统下载到u盘安装的教程..2021/12/30
- 大白菜u盘装系统步骤2022/04/11
- U盘重装系统步骤win72022/08/06
- 详细教您windows7安装2019/01/02
- 如何使用U盘制作系统安装盘:详细步骤指..2023/11/27


 关注微信公众号


