u盘重装win8 64位系统教程
- 分类:U盘教程 回答于: 2017年07月29日 15:18:15
相信已经有不少朋友在寻找u盘重装win8 64位的方法了,因为自从新版小白出来之后,大家就对这个方法无比热衷起来。那么到底u盘重装win864位需要做什么呢?下面小编就分享给大家u盘重装win8 64位系统教程,帮助大家掌握这个方法。
其实小编我已经遇到好多的粉丝小伙伴留言询问小编我关于u盘重装win8 64位的安装方法,接下来小编我就来好好教教大家吧。
1、先下载小白一键重装工具(下载地址:http://xb.kxbld.com:801/XiaobaiOnekey.exe)
2、打开后进入U盘启动,点击U盘模式
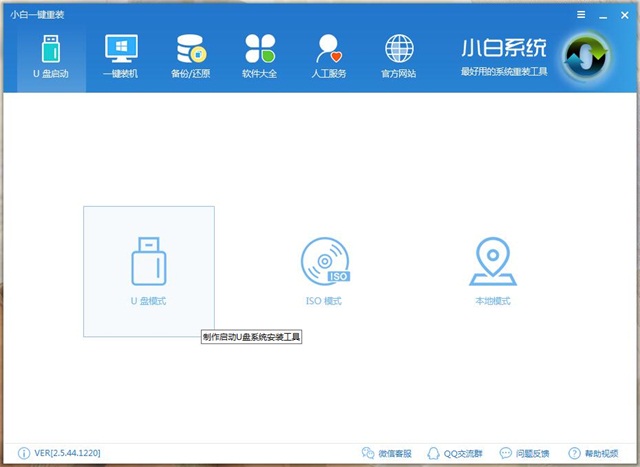
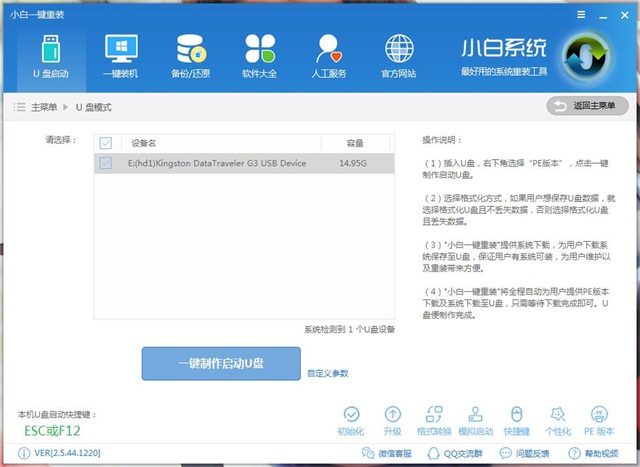
3、插入U盘,这里就会显示我们的U盘了,我们选中它,然后点击一键制作启动U盘
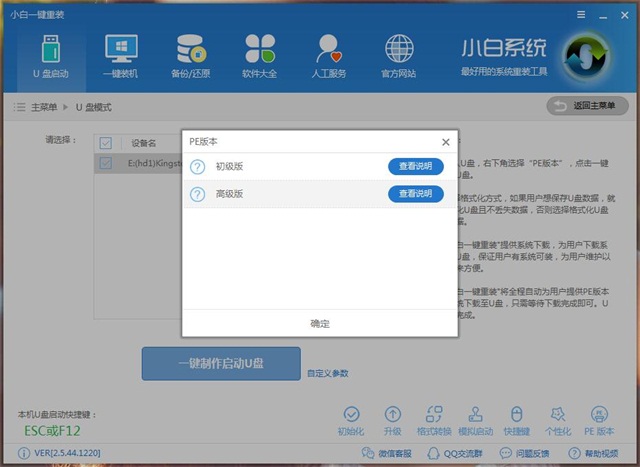
4、在这里选择高级版
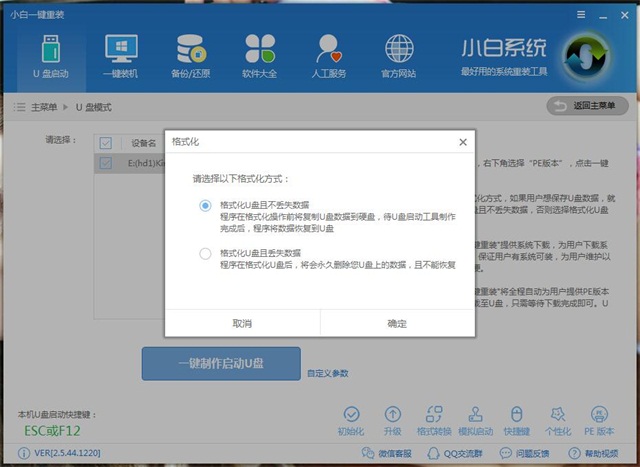
5、选择格式化U盘且不丢失数据
6、这里提供了系统下载,如果我们没有事先下载系统的话,可以从这里下载云端安全系统

7、然后就开始下载系统了
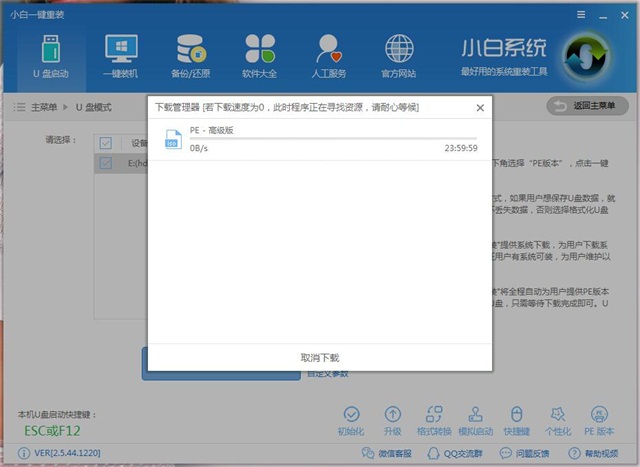
8、接着就开始制作启动盘

9、等待几分钟后,启动盘就制作成功!我们重启电脑
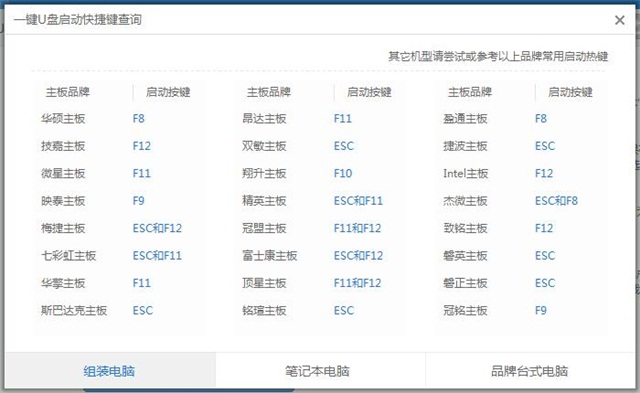
10、在开机的时候按下快捷键进入BIOS设置,设置U盘启动。各种快捷键如下


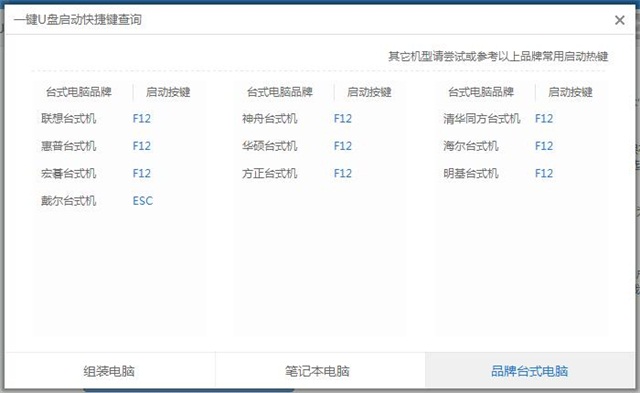
11、选择【2】
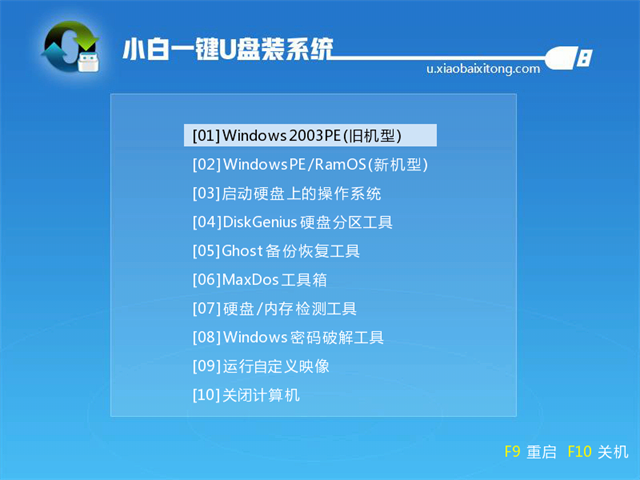
12、在自动弹出的装机工具里面,选择我们要安装的系统,一般来说都只有一个的

13、点击安装系统之后就会开始重装了
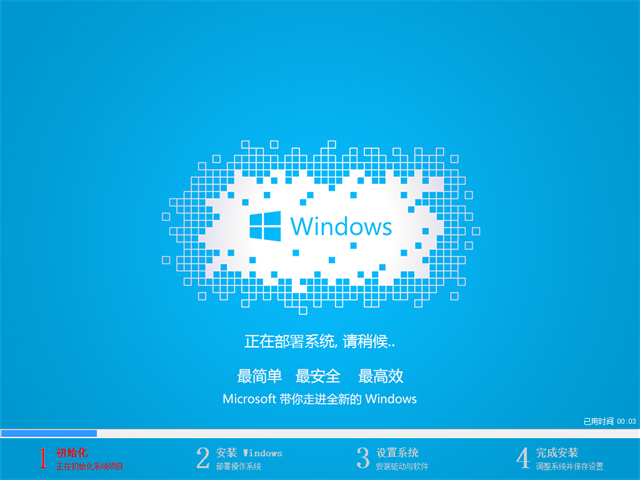
14、如果我们要下载驱动就选择是,如果不用的话就选否

15、这里是驱动下载界面,我们可以选择自己要安装的驱动

16、驱动安装完之后,等待几分钟,系统就安装好了哦
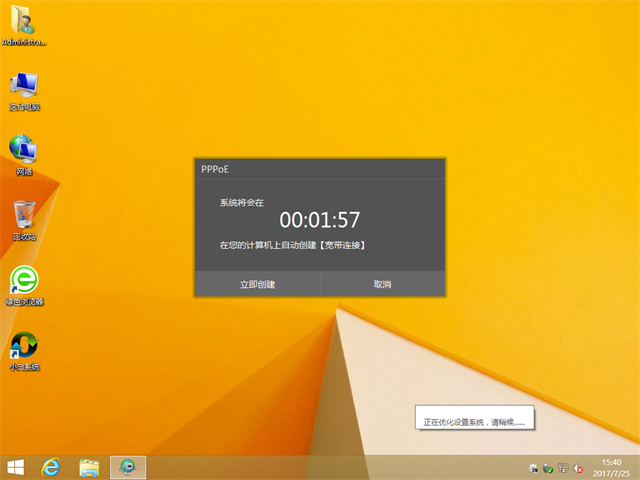
以上就是u盘重装win8 64位系统教程的全部内容了,只要大家按照步骤一步步去操作,就可以掌握u盘重装win864位的方法了,以后就是电脑大神了哦,以后在系统界还是要靠大家罩着小编啊!
 有用
26
有用
26


 小白系统
小白系统


 1000
1000 1000
1000 1000
1000 1000
1000 1000
1000 1000
1000 1000
1000 1000
1000 1000
1000 1000
1000猜您喜欢
- 小编教你如何进入bios2017/09/12
- 小编教你u盘读不出来该怎么办..2017/09/13
- [定制重装电脑系统u盘]制作指南:快速打..2024/10/10
- U盘速度大揭秘!提升文件传输效率的最佳..2023/12/15
- u盘插电脑没反应2020/05/23
- u盘之家工具的使用教程2022/03/27
相关推荐
- 怎么用U盘安装系统2020/06/27
- 笔者教你怎么彻底清除u盘ripper病毒..2018/11/29
- 小编教你如何使用硬盘坏道检测工具..2017/10/17
- 联想安装电脑系统教程bios设置..2022/11/21
- U盘装电脑系统步骤大全2024/04/08
- 怎么用u盘重装系统win10步骤图解..2022/05/01


 关注微信公众号


