


一键ghost使用教程
- 分类:教程 回答于: 2022年01月22日 15:30:00
大部分小伙伴应该都知道一键ghost是一键还原精灵当中的一个功能,但是小伙伴只是知道并不会使用,那么一键ghost怎么使用呢?下面小编就给大家带来一键ghost使用教程。
首先我们要在一键还原精灵官方网站下载一键还原精灵工具,下载好一键还原精灵工具之后双击打开,然后用鼠标点击工具下方的“高级模式”选项,如下图所示:

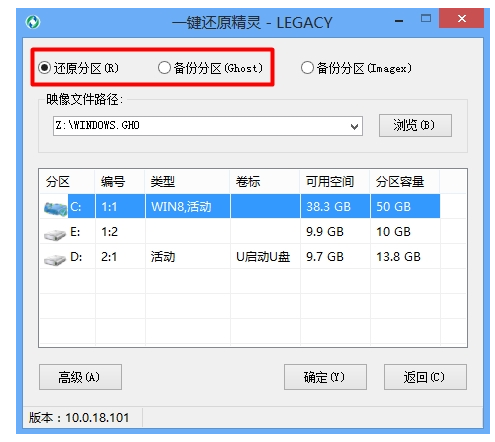
打开高级模式选项之后,就进入了一键还原精灵一键ghost界面,在这里我们可以实现还原分区与备份分区操作,如下图所示:
一、备份分区
备份分区是针对一个硬盘分区进行一个备份操作,我们重新安装完系统之后,就能够对装完系统的初始状态进行备份,备份完成之后会得到一个以gho后缀的备份文件,如果计算机出现了故障之后需要进行还原分区操作的时候就可以早操相对应的gho备份文件进行还原系统操作了。
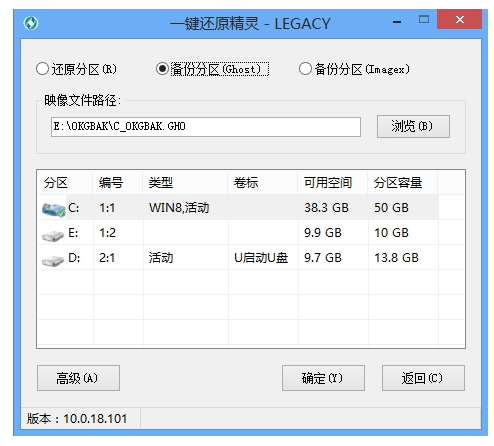
1、选择工具上方的“备份分区”,然后点击“浏览”按钮,如下图所示:
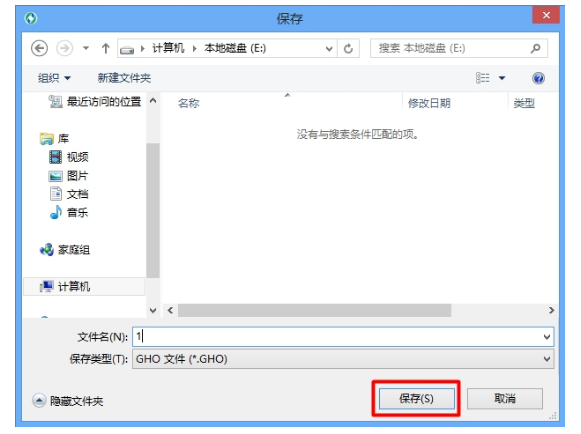
2、在弹出的路径窗口中,选择存放备份文件的路径,点击“保存”按钮,如下图所示:
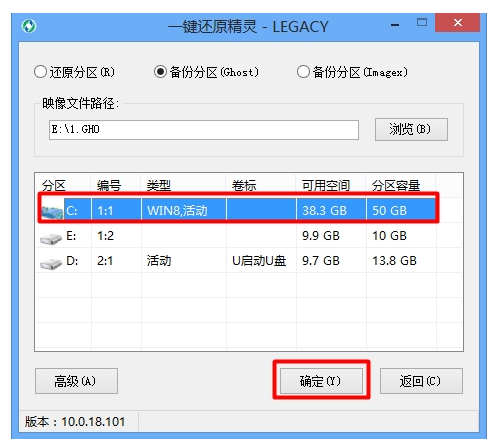
3、路径选择好后,选择需要备份的硬盘分区,然后点击“确定”按钮即可,如下图所示:
4、在弹出的信息提示框中,点击“确定”按钮,如下图所示:
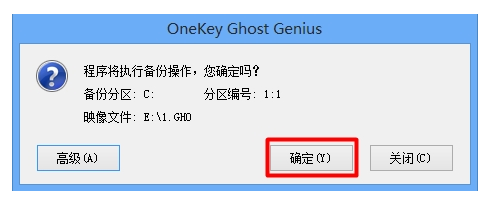
5、鼠标点击“确定”按钮,如下图所示:
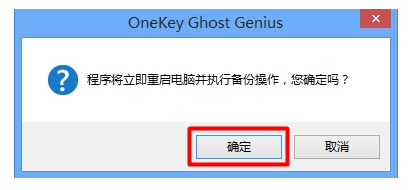
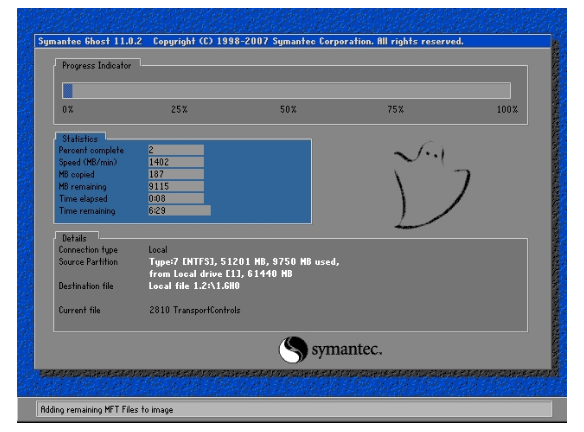
6、此时开始进行系统备份,我们等待其备份完成即可,如下图所示:
二、还原分区
还原分区可以理解为将系统还原到装完系统的初始状态,同时在某种意义上来说,它是我们在使用ghost系统镜像包重装系统时所会用到的功能之一。不管是哪种用法,在进行还原分区时都会需要相应的GHO文件:如果是将系统还原到装完系统的初始状态,那么就需要有在备份系统时所生成的GHO文件;如果是重装系统则需要提取系统镜像包中所包含的GHO文件。
在有相对应的GHO文件情况下,我们进行如下的系统还原操作:
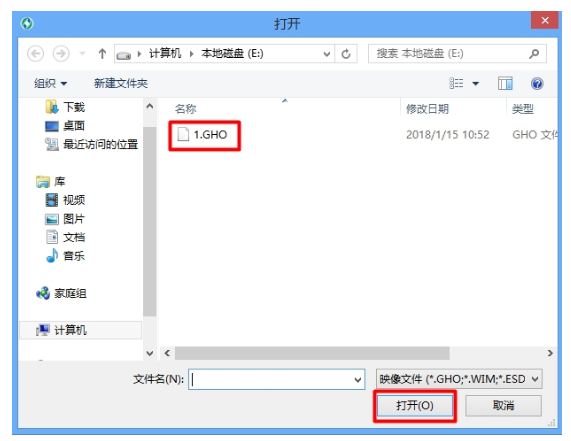
1、选择工具中的“还原分区”,然后点击“浏览”按钮,选择对应的GHO文件,如下图所示:
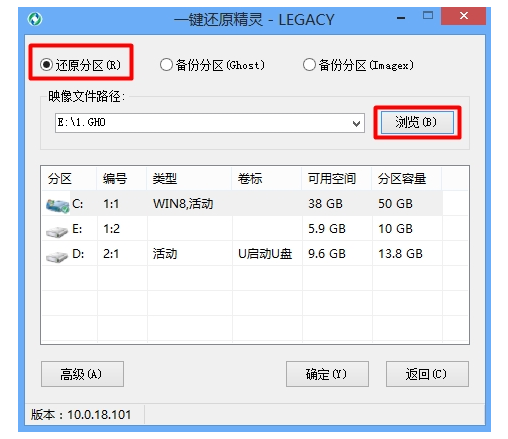
2、在文件路径查找中,找到GHO文件的存放位置,双击打开,如下图所示:
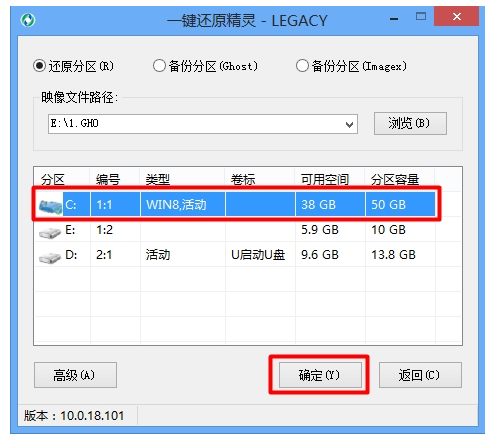
3、选择需要还原的硬盘分区,最后点击“确定”按钮,如下图所示:
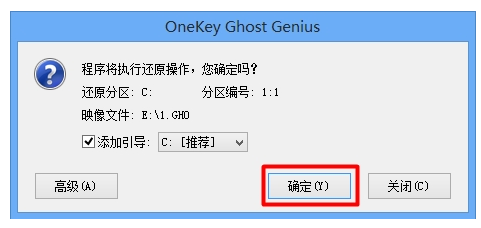
4、在弹出的信息提示框中,点击“确定”按钮,如下图所示:
5、鼠标单击“是”按钮,如下图所示:
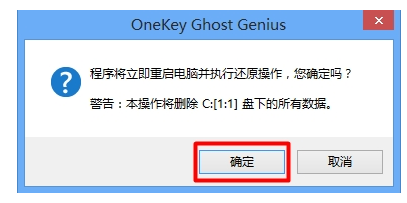
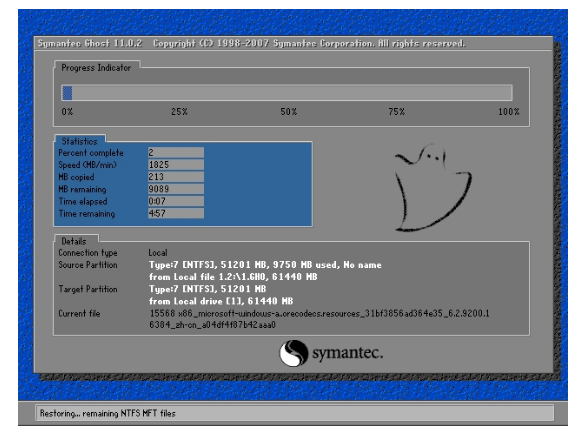
6、这时我们可以看到u深度一键还原精灵工具开始进行还原系统,我们等待其完成即可,如下图所示:
以上就是一键ghost使用教程,希望能帮助到大家。
 有用
26
有用
26

分享

转载请注明:文章转载自 www.01xitong.com
本文固定连接:www.01xitong.com
 小白系统
小白系统
小白帮助
如果该页面中上述提供的方法无法解决问题,您可以通过使用微信扫描左侧二维码加群让客服免费帮助你解决。备注:人工客服仅限正常工作时间(周一至周六:9:00~12:00 2:00~6:00)


分享到
 微信好友
微信好友 朋友圈
朋友圈 QQ好友
QQ好友 QQ空间
QQ空间 新浪微博
新浪微博 复制链接
复制链接取消
长按或点击右侧按钮复制链接,去粘贴给好友吧~
http://127.0.0.1:5500/content.htmlhttp://127.0.0.1:5500/content.htmlhttp://127.0.0.1:5500/content.htmlhttp://127.0.0.1:5500/content.htmlhttp://127.0.0.1:5500/content.htmlhttp://127.0.0.1:5500/content.htmlhttp://127.0.0.1:5500/content.htmlhttp://127.0.0.1:5500/content.htmlhttp://127.0.0.1:5500/content.html
取消
复制成功
怎样进行电脑系统重装(适合电脑小白的方法图解)
 1000
10002023/04/17
黑屏解决办法(黑屏原因)
10002022/11/08
MicrosoftOffice2021 最新永久激活密钥
10002022/11/03
热门搜索
电脑重装系统大概多少钱
10002022/10/29
电子邮箱格式怎么写教程
10002022/10/23
神舟电脑怎么进入bios重装系统
10002022/10/13
苹果序列号含义
10002022/10/07
五种方法教你电脑开不了机怎么办
10002022/07/19
小白一键重装系统后怎么激活windows
10002022/07/08
超详细原版windows系统下载图文教程
10002022/06/30
上一篇:m.2接口有几种介绍
下一篇:如何安装windows mac双系统-小白系统教程
猜您喜欢
- u盘格式化数据恢复如何操作..2023/04/24
- 华硕笔记本重装系统按哪个键..2022/11/21
- 详解回收站删除的视频怎么恢复..2024/09/25
- 如何取消电脑密码2024/02/08
- 如何设置电脑壁纸2022/09/07
- 电脑蓝屏怎么重装系统2022/11/17
相关推荐
- 新一代1060显卡:性能强劲,畅享游戏..2024/02/20
- 详细教你笔记本操作系统安装步骤..2020/06/11
- 台式电脑怎么看电脑配置高低..2021/11/26
- linux系统怎么重装2022/11/25
- 电脑一键重装系统排名软件有哪些..2022/11/27
- 4933小游戏:玩转无限乐趣!..2024/01/29
文章已经到底了,点击返回首页继续浏览新内容。

 关注微信公众号