用u盘安装win7系统教程
- 分类:教程 回答于: 2017年03月22日 00:00:00
用u盘安装win7系统教程是什么呢?网友们想是有u盘安装电脑win7系统,但是却不知道如何正确使用u盘进行安装,所以就来问小编我,其实u盘安装点win7系统是非常简单的,下面就让我给你们介绍下用u盘安装win7系统教程。
u盘安装电脑win7系统步骤:
1、首先,我们准备一个4G或以上的U盘,并下载一个PE,推荐通用PE,简单、稳定,根据提示安装到U盘里
2、再将你的WIN7 ISO系统文件复制到U里(xp系统一键重装)
3、在开机时按F12进入BIOS设置 将U盘设为启动项,即USB HDD
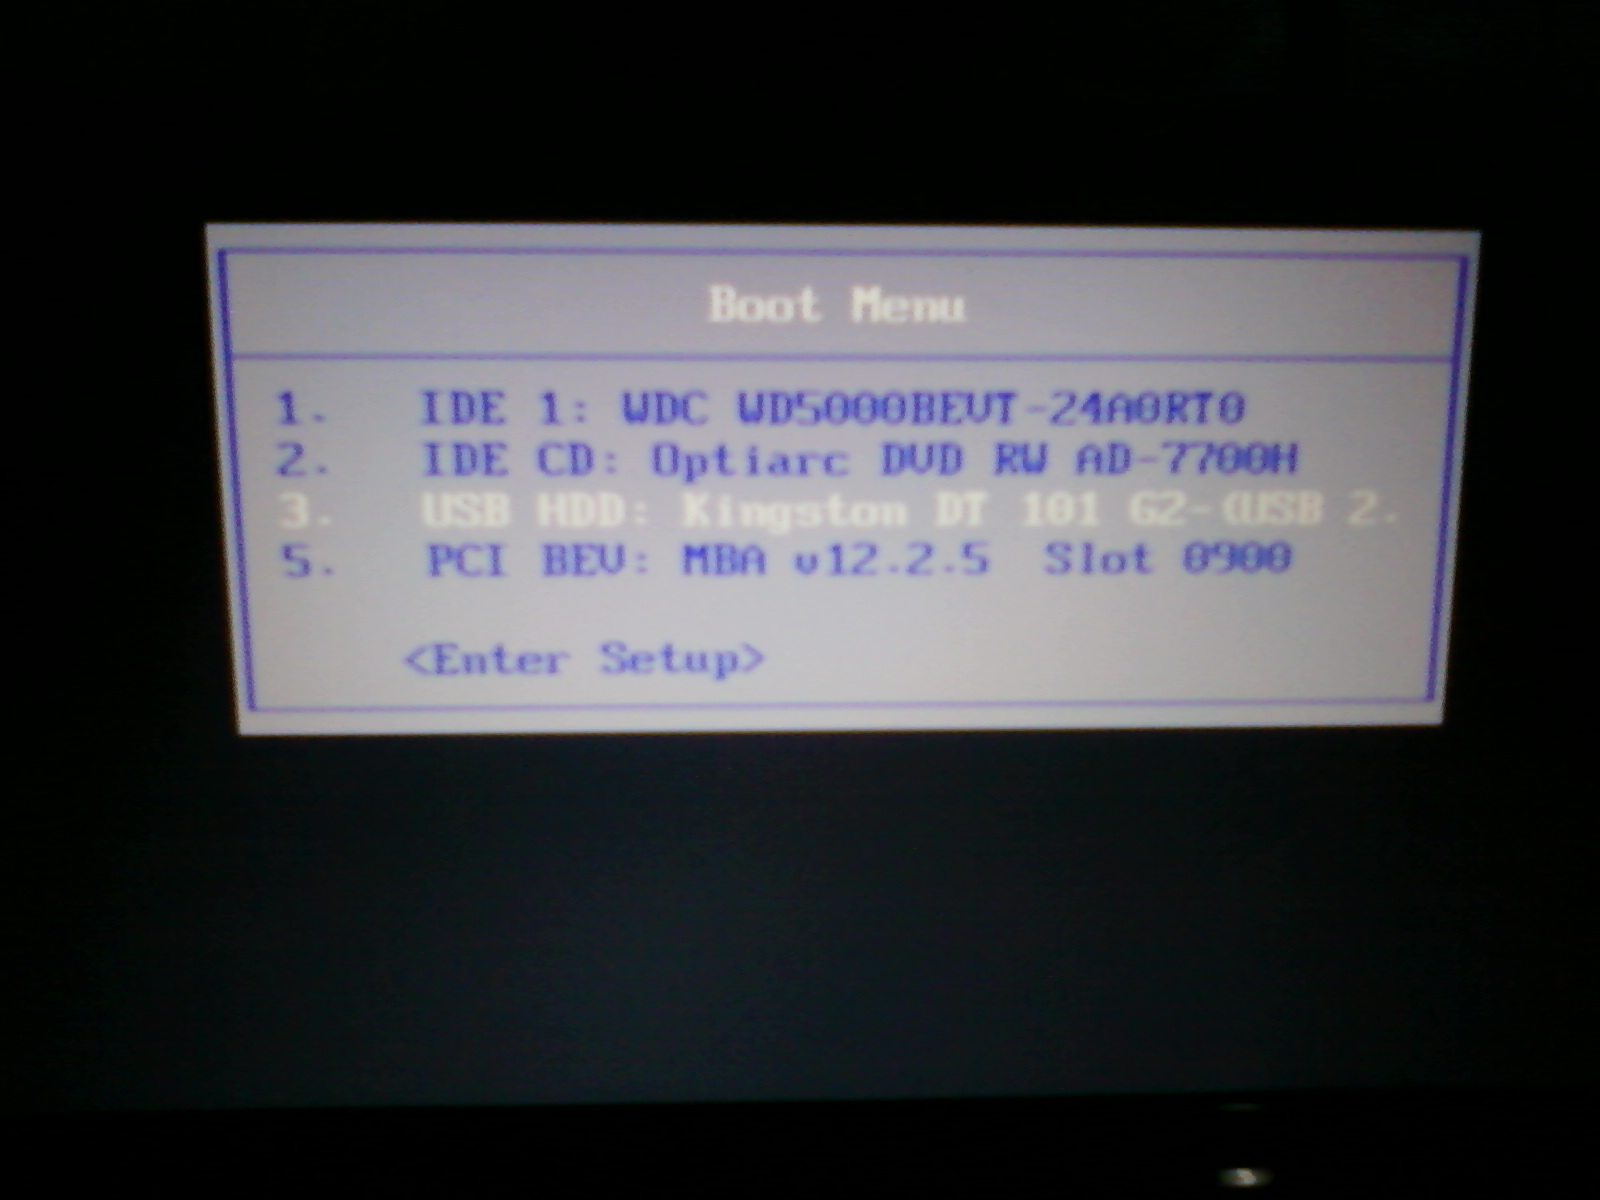
4、F10保存、回车、自动重启、紧接着就从你的U盘启动进入了PE系统
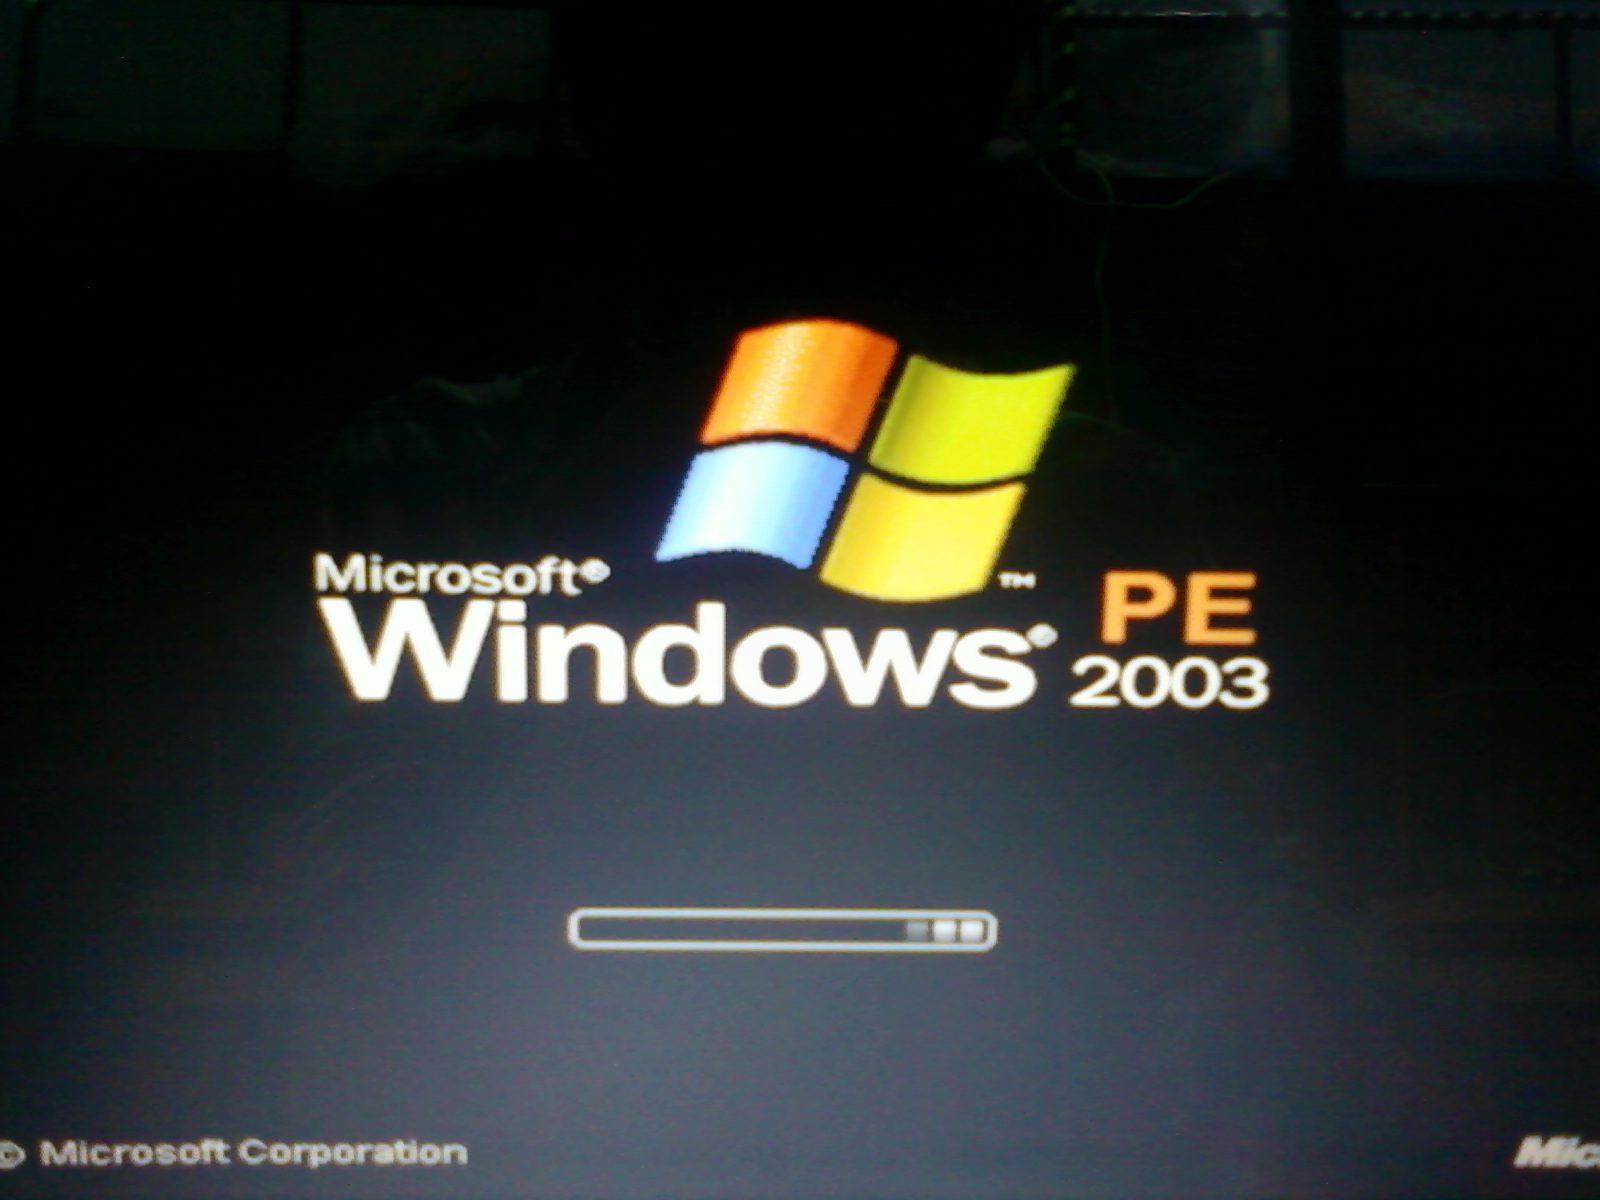
5、进入PE后, 双击VDM虚拟光驱

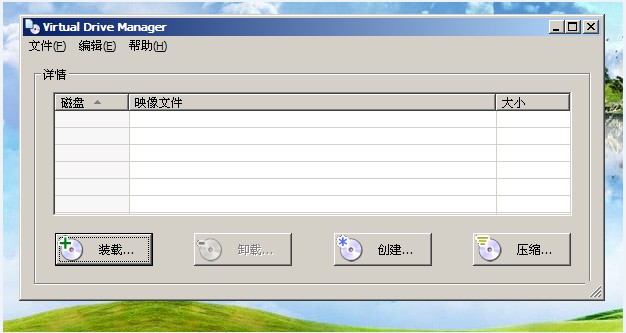
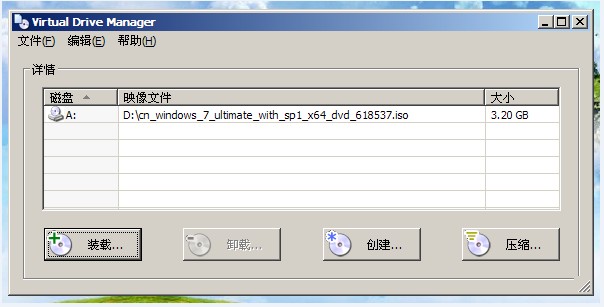
6、装载映像文件:点击装载,找到你的U盘上的ISO文件,路径浏览记住虚拟盘符为A,确定后,最小化放在任务栏边

7、我们双击WINDOWS安装器Winsman,选择第二项Windows Vista/2008/2008R2/7


8、点击浏览:记住我们已经将ISO文件装载入了A盘里
找到A盘
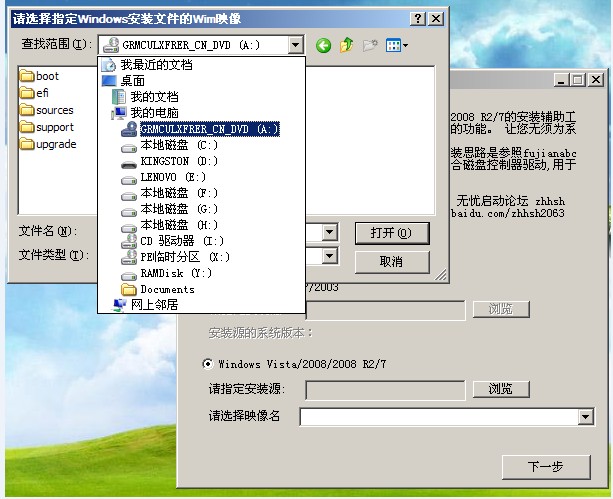
9、打开Sources文件夹

10、选中install.wim点击选择打开项

11、选择映像名:选择WINDOWS7旗舰版

12、我们选中你所装的系统盘盘符,点击下一步

13、点击格式化后,再次点击将系统安装你刚才选中的盘符
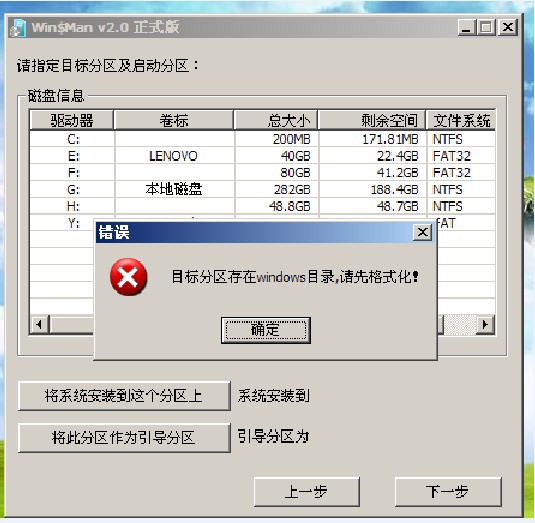

14、确定后就如下面,不用管他,直接点击下一步

15、点击将系统盘符指定为C,点击下一步
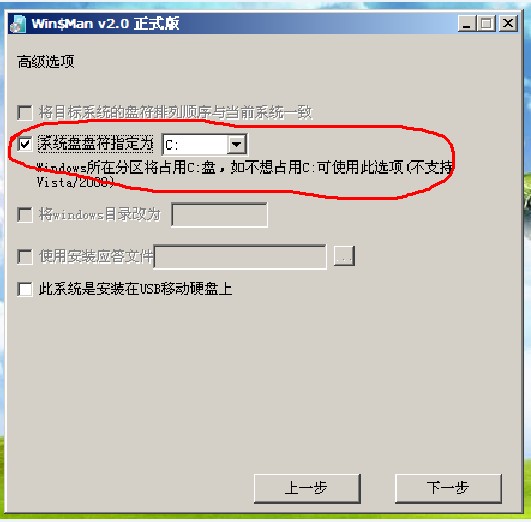
16、继续点击下一步
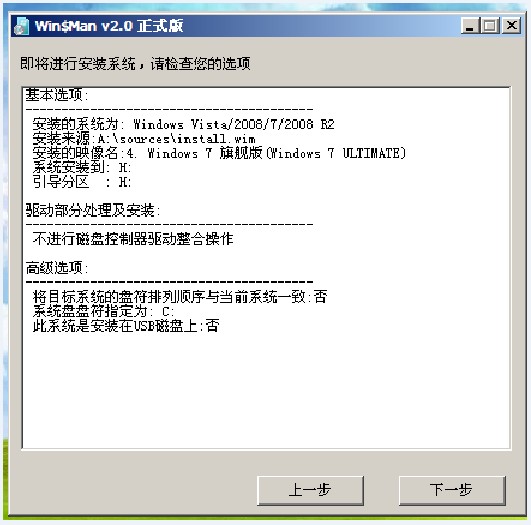
17、后面等待,初步成功,点击确定
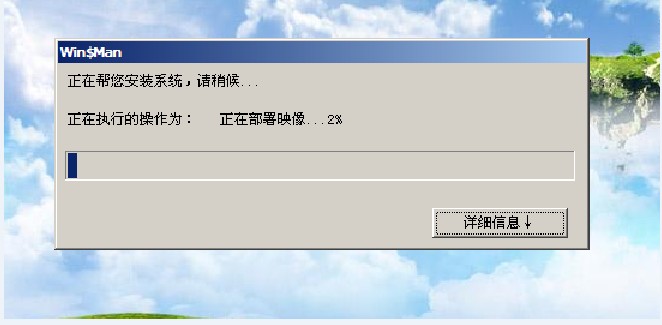
18、立即重启

19、最后,点击确定后,自动重启

20、重启完成后,就是傻瓜式操作了,一键搞定,这里就不详细介绍了
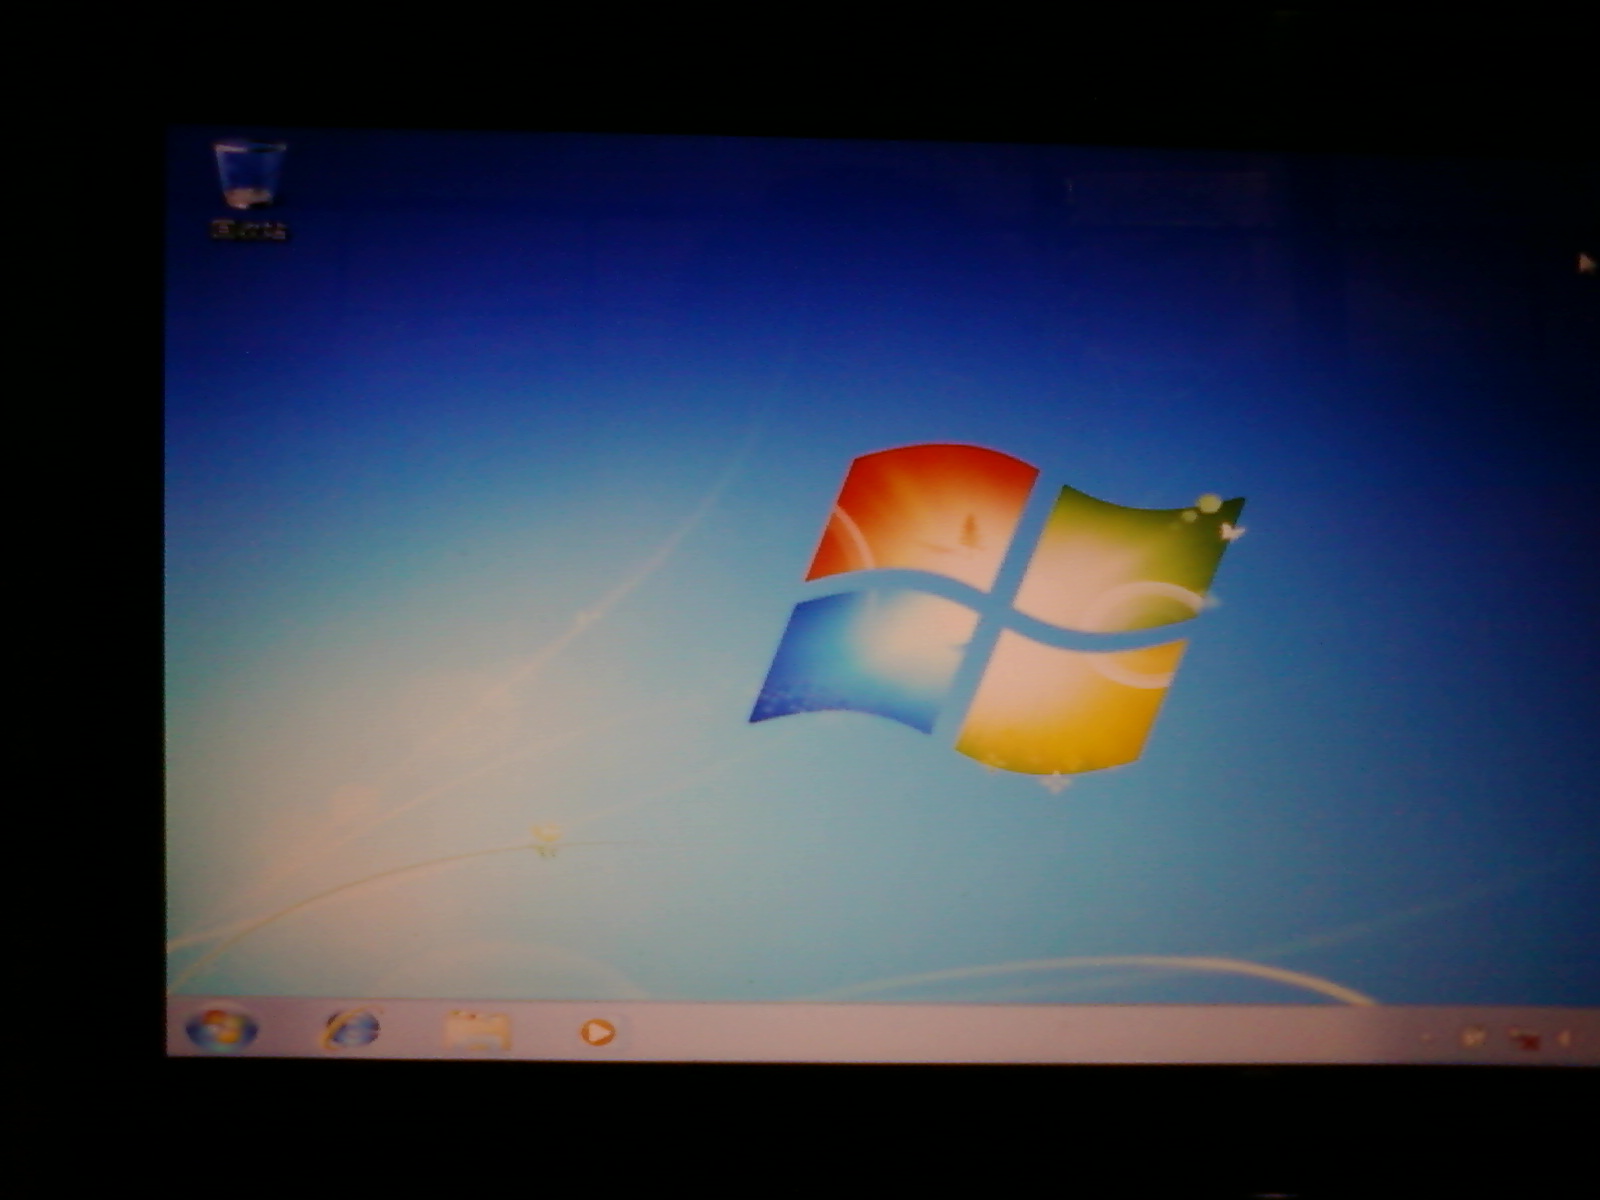
以上就是小编给你们介绍的用u盘安装win7系统教程,u盘安装电脑win7系统的方法是非常实用的,u盘更便于存放,有利于数据的保护。使用简单,使用电脑主板能够支持usb启动即可使用。
 有用
22
有用
22


 小白系统
小白系统


 1000
1000 1000
1000 1000
1000 1000
1000 1000
1000 1000
1000 1000
1000 1000
1000 1000
1000 1000
1000猜您喜欢
- 一键电脑重装win7系统图文教程..2016/11/05
- 电脑怎么重装ie2023/03/01
- 五笔输入法练习软件,提高打字速度..2024/01/11
- 小编教你电脑没声音怎么回事..2019/05/27
- 两种关闭windows defender功能操作方..2019/08/25
- 数据恢复专家如何使用2019/09/05
相关推荐
- 高清视频播放器2024/01/10
- 电脑开机蓝屏出现0x0000007b的解决教..2021/11/24
- 电脑重装系统软件哪个好用..2022/06/12
- 电脑无法开机的解决方法2015/07/08
- 电脑一键还原,小编教你win7电脑如何一..2018/03/05
- 小编告诉你联想如何设置u盘启动..2016/11/08


 关注微信公众号


