用u盘安装redhat图文教程
- 分类:教程 回答于: 2016年11月12日 00:00:00
最近关于用u盘安装redhat的问题实在是太火了,很多朋友都想要学习u盘装redhat的方法,为此甚至不惜一切代价!小编被大家的诚意感动了,决定教大家u盘装redhat,那么到底要怎么操作呢?下面小编就给大家带来用u盘安装redhat图文教程。
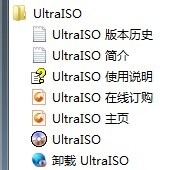
首先我们把镜像用 UltraISO 这款软件打开,就跟xp系统重装一样。
用u盘安装redhat图文教程图1

用u盘安装redhat图文教程图2
打开之后依次点击左侧的 images 再点击右侧的 boot.iso 再选中boot.iso右键提取 把该文件提取到一个任意地方。

用u盘安装redhat图文教程图3
提取完毕后,关闭所有的 UltraISO ,然后用 UltraISO 打开提取出来的boot.iso 你会看见下图的文件,就算是正确的。

用u盘安装redhat图文教程图4

用u盘安装redhat图文教程图5
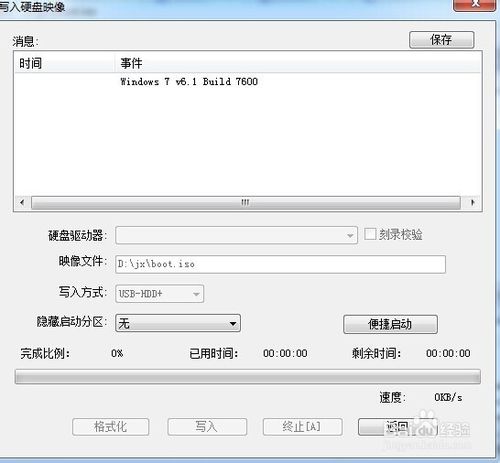
然后点击 UltraISO 上方的“启动”--“写入硬盘映像”然后会看到下图。直接写入即可。(由于本人U盘已经做好就不再次写入了)
用u盘安装redhat图文教程图6
写入完成后,打开U盘你会看到下图。然后把整个的镜像文件复制到U盘根目录。至此U盘做完了。

用u盘安装redhat图文教程图7

用u盘安装redhat图文教程图8
下面开始安装。这个怎么U盘启动就看各位的服务器品牌以及设置了。总之选中U盘启动。然后到了这步,回车。

用u盘安装redhat图文教程图9
选择语言。我默认全部为英文。

用u盘安装redhat图文教程图10
键盘

用u盘安装redhat图文教程图11
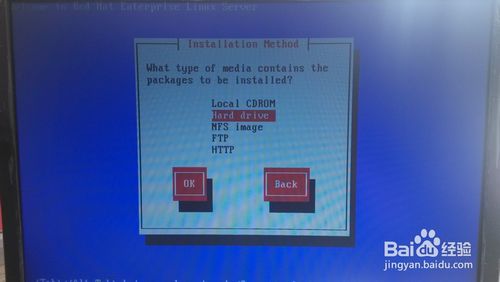
选择启动项,这里我们U盘要选择第二个。第一个是光驱。
用u盘安装redhat图文教程图12
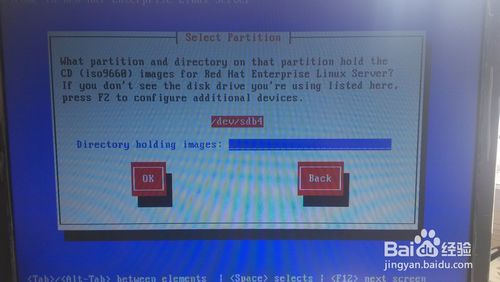
选择引导设备。我们这里选择U盘的目录。一般机器会默认为U盘,如果没有默认,大家就选择以 sdb 字样的设备,sdb代表U盘,sda代表硬盘。选好后,点OK.
用u盘安装redhat图文教程图13
然后稍微一等待 就到了欢迎界面了。点击next
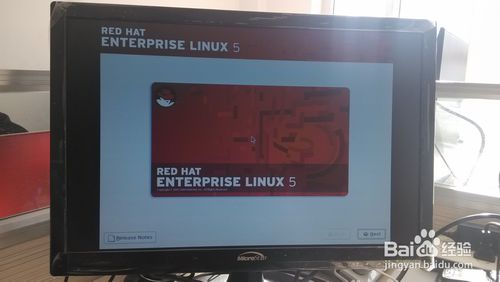
用u盘安装redhat图文教程图14
然后要求输入序列号。这个嘛,怕抄水,各位自己百度。肯定有。在此鼓励正版。
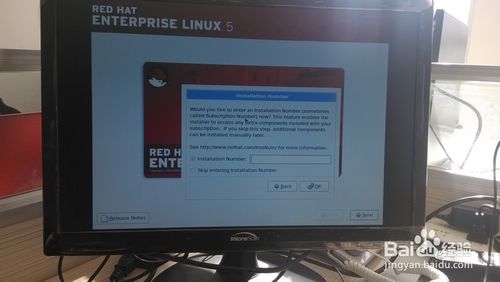
用u盘安装redhat图文教程图15
然后 YES
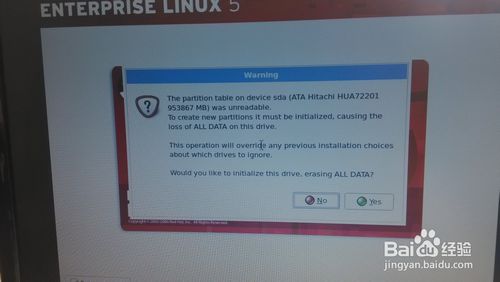
用u盘安装redhat图文教程图16
在这里选择分区方式,我们选择手动分区。
Create custom layout
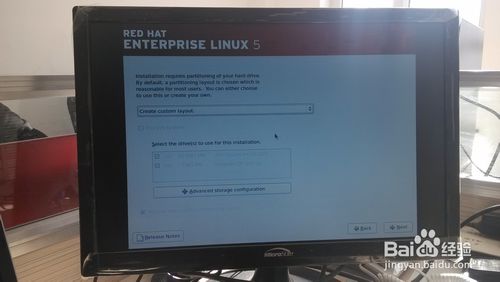
用u盘安装redhat图文教程图17
在这里大家新建自己所需要的分区方式。我自己的分区为下图。继续下一步,

用u盘安装redhat图文教程图18
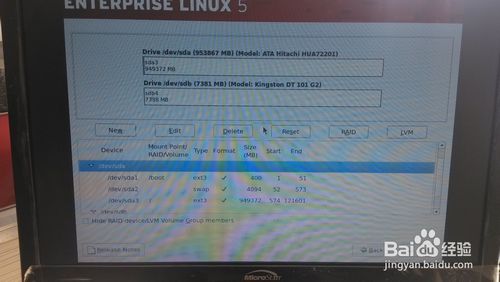
用u盘安装redhat图文教程图19
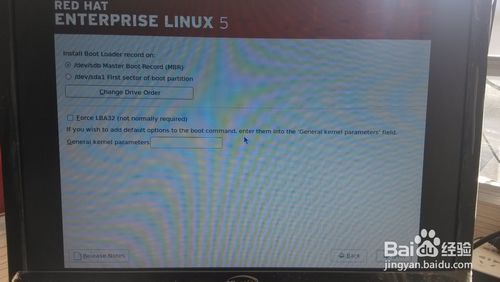
此步骤很重要,这里选择引导位置,不能默认,默认的话是U盘启动,不插U盘启动不了。所以把下面的
Configure advanced boot loader options
挑上勾。next

用u盘安装redhat图文教程图20
点击
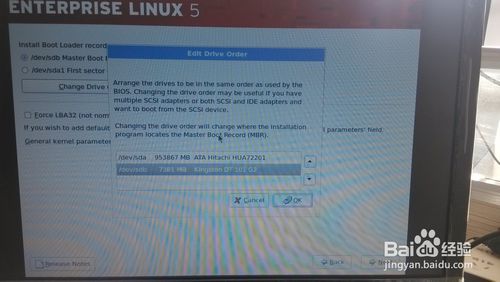
Change drlve order
用u盘安装redhat图文教程图21
进入该页面点击右侧的上下箭头,把硬盘调整到最上面,OK。就可以了,这样引导就是硬盘了。
用u盘安装redhat图文教程图22
这里可以配置网络,我默认不配置,直接next 。如果各位有需要可以直接配置。也可以进入系统在配置。看各位想怎么方便了。

用u盘安装redhat图文教程图23
设置一个时区,我们选择上海

用u盘安装redhat图文教程图24
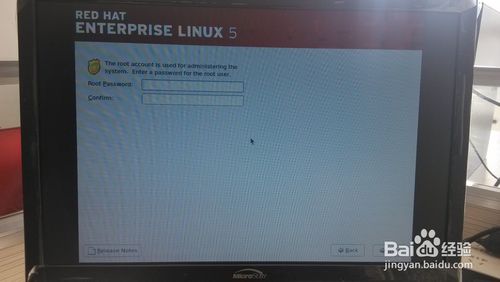
设置一个密码
用u盘安装redhat图文教程图25
在这里可以定制你的系统是什么类型,看各位的实际需求了,我这里就默认配置了。next

用u盘安装redhat图文教程图26
然后直接下一步就可以了,耐心等待。
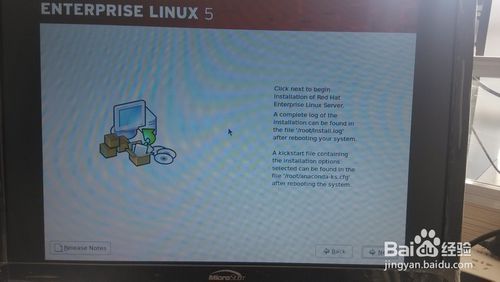
用u盘安装redhat图文教程图27
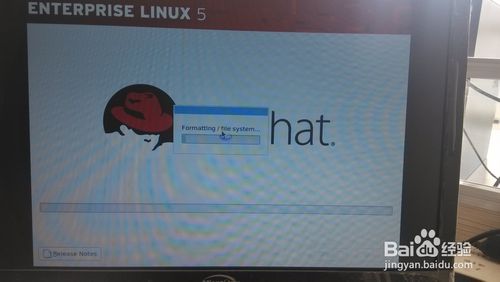
用u盘安装redhat图文教程图28
点击 reboot 。至此全部安装完毕。
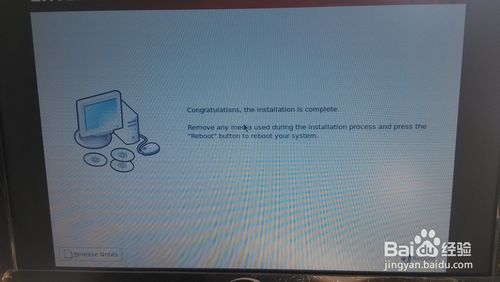
用u盘安装redhat图文教程图29
上述就是用u盘安装redhat图文教程了,大家是否都已经学会了这个方法呢?说实话u盘装redhat算是一种比较深奥的方法了,很多人都是不知道的!现在小编把这篇教程分享出来,大家难道不赶紧收藏起来吗?就算自己用不上,以后分享出去也是功德一件。扩展阅读:联想z475系统重装
 有用
26
有用
26


 小白系统
小白系统


 1000
1000 1000
1000 1000
1000 1000
1000 1000
1000 1000
1000 1000
1000 1000
1000 1000
1000 1000
1000猜您喜欢
- win7系统好还是win8系统好用2015/07/09
- 小白系统官网首页怎么进入..2022/10/07
- zip格式怎么打开2015/06/02
- xp下安装ghost win7图文教程2017/03/21
- 重新装了系统后读不了U盘2016/10/10
- 打印机脱机怎么办2024/03/07
相关推荐
- 从零开始学黑苹果安装教程..2022/04/18
- 解决蓝屏代码0x000007b问题2024/01/19
- 白云一键重装系统下载安装使用教程..2023/02/17
- 详解win11配置最低要求是什么..2021/07/14
- 安装系统找不到硬盘2015/07/07
- 联想win8系统重装急速图解教程..2016/11/20


 关注微信公众号


