u盘安装纯净版win7系统教程
- 分类:教程 回答于: 2016年10月24日 00:00:00
u盘安装纯净版win7系统的方法小编曾经给大家讲解过,小编曾经给大家讲解过u盘安装,由于大家当时没看到,所以不知道u盘安装纯净版win7系统的方法,今天又要给大家带来是用u盘安装纯净版的win7系统,希望大家这次能够听进去哦。
一、准备工作
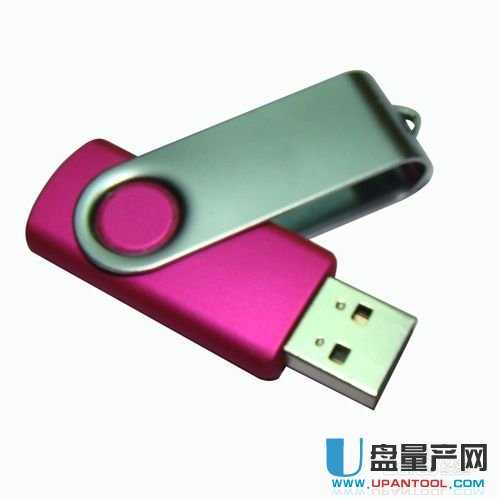
1、准备一个U盘,不能使用读卡器+内存卡,因为电脑格式不支持,所有机子都是这样的。要大于512M即可,最好大于1G。如果U盘里有重要文件要提前 备,因为在做启动盘时盘内的文件将会都被清掉。另外C盘的文件也将会都被格式掉,盘内或桌面上有重要文件的话要移到别的盘去。C盘最少要20G,最佳在 30-50G。
u盘安装纯净版win7系统教程图1
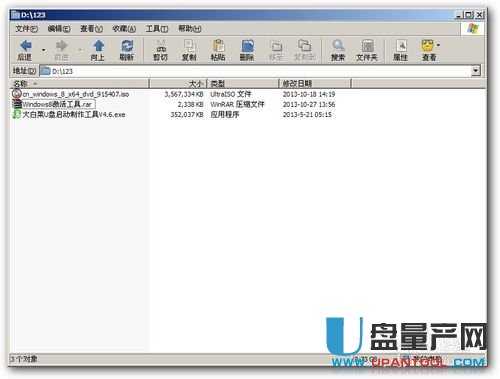
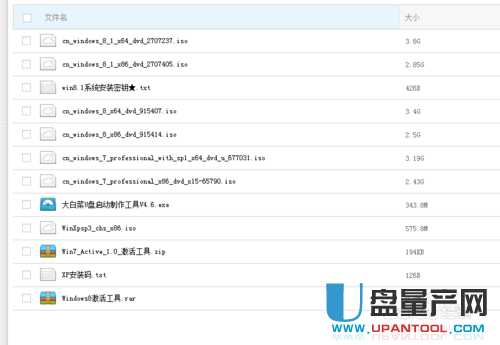
2、在网上下载文件,主要包括三个文件。随便保存在一个盘,C盘除外,最好放在文件夹内,文件夹不以有中文命名,可以用数字或子母代替,自己记得就行了。
u盘安装纯净版win7系统教程图2
(1)大白菜U盘启动制作工具5.0。
(2) win8光盘映像文件
扩展名为ISO。可以选择32位或64位进行下载。如果安装纯净版的win7系统只要下载相应的文件就可以了,官方去下载或者去论坛下载纯净版,也可以去联想电脑怎么重装系统这里找找。
GHOST版本尽管安装速度非常快,但里面封装了很多垃圾软件,不建议安装(GHOST安装与纯净版安装是不同的)。
(3)激活工具下载。
激活工具网上很多,但相当一部分被封进了大量的流氓软件,里面已经剔除了广告等内容。
u盘安装纯净版win7系统教程图3
二、制作U盘启动盘
1、 安装大白菜U盘启动制作工具。安装过程很简单,一直“下一步”就可以运行了。

u盘安装纯净版win7系统教程图4
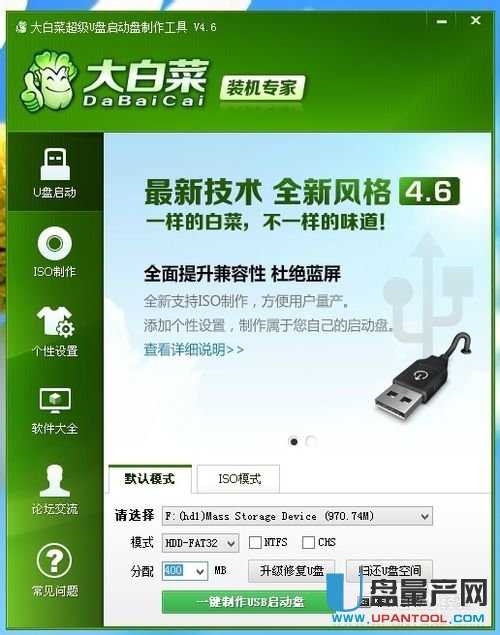
2、安装安成之后就可以运行了, U盘插入USB口。"U盘启动"--"一键制作USB启动盘"
u盘安装纯净版win7系统教程图5
3、NTFS、CHS只在BIOS没有相应启动项时才用,一般不用选。点击“确定”。 通常情况按默认模式一键制作就可以了。

u盘安装纯净版win7系统教程图6
4、 USB启机盘至此就制作完成了。你可以测试一下,一般情况到这步U盘启动盘就完成了。

u盘安装纯净版win7系统教程图7
三、BIOS设置
1、下面进入关键了。尽管介绍很繁琐,其实操作很简单。重启电脑,在开机时按Del键进入BIOS设置。主要是设置U盘为引导盘。不同版本机子进入BIOS方法有差异,有的是按F1、F8或是Esc之类的。
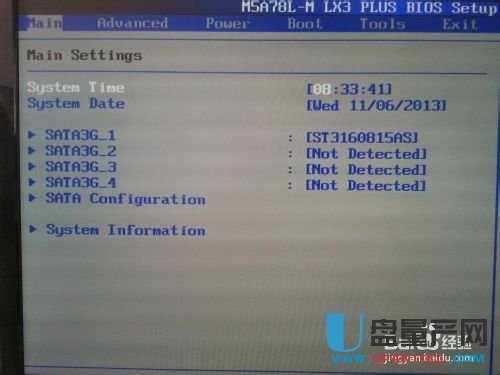
u盘安装纯净版win7系统教程图8
2、进入到“Boot”启动项设置。选择每一个回车。
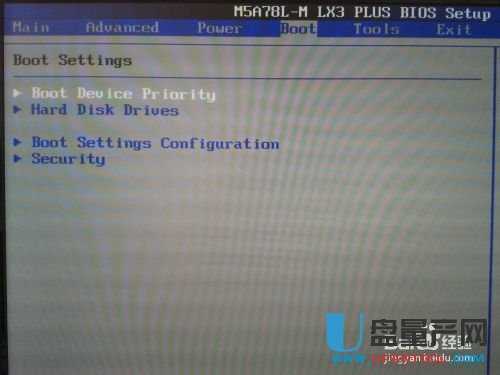
u盘安装纯净版win7系统教程图9
3、 对启动顺序进行设置,把USB作为第一顺序启动盘。
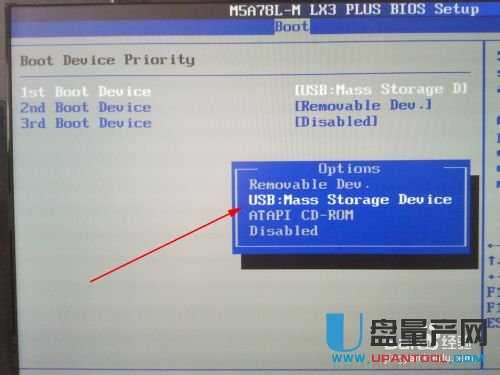
u盘安装纯净版win7系统教程图10
4、按“Esc”回第二步,Hard Disk Drives硬盘启动排列顺序也要进行设置。
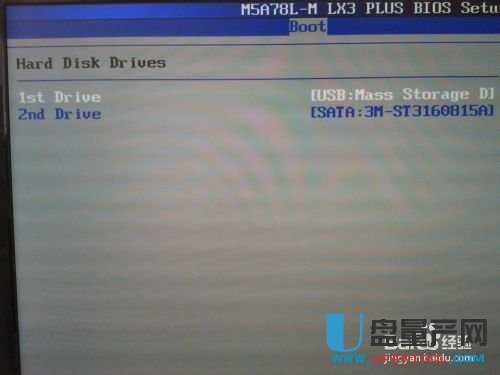
u盘安装纯净版win7系统教程图11
5、保存设置并重启。 如下图,有的机可以直接接“F10”的。

u盘安装纯净版win7系统教程图12
四、安装操作系统
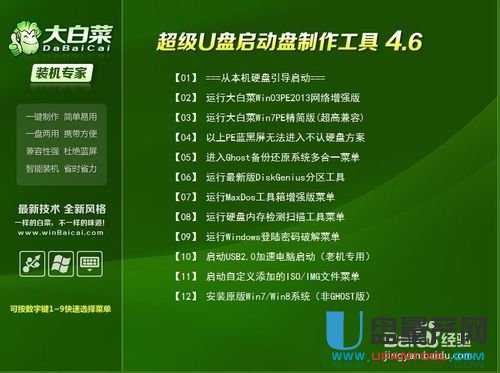
1、U盘启动。选择第2项,网络增强版。
u盘安装纯净版win7系统教程图13
2、启动虚拟光驱。

u盘安装纯净版win7系统教程图14
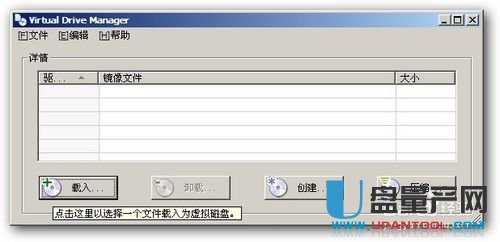
3、 载入文件。也就是载入ISO系统安装文件。
u盘安装纯净版win7系统教程图15
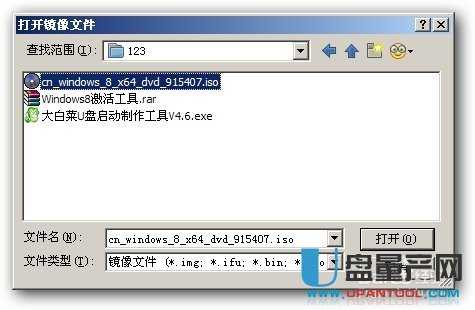
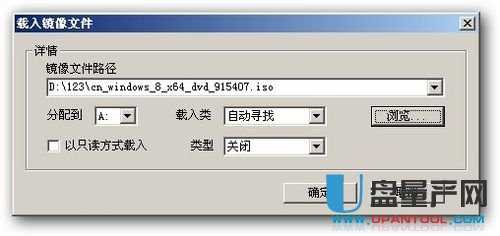
4、点击“浏览”,找到刚才下载的win7系统ISO镜像安装文件。

u盘安装纯净版win7系统教程图16
u盘安装纯净版win7系统教程图17
u盘安装纯净版win7系统教程图18
5、将虚拟光驱软件缩小。此步骤也可以省略。
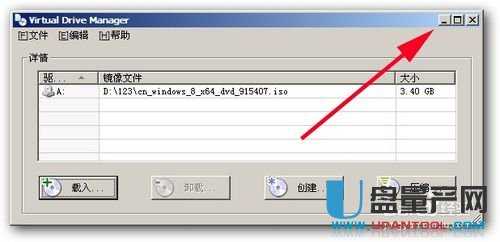
u盘安装纯净版win7系统教程图19
6、打开“Windows安装”。

u盘安装纯净版win7系统教程图20
7、 选择下面的windows/2008。“浏览”。

u盘安装纯净版win7系统教程图21
8、多了一个A驱,这就是我们刚刚虚拟的光驱。

u盘安装纯净版win7系统教程图22
9、进入虚拟光驱,打开sources目录,选择install.wim文件。

u盘安装纯净版win7系统教程图23
10、 选择映像名。

u盘安装纯净版win7系统教程图24
11、选择C盘,并按提示将其格式化。
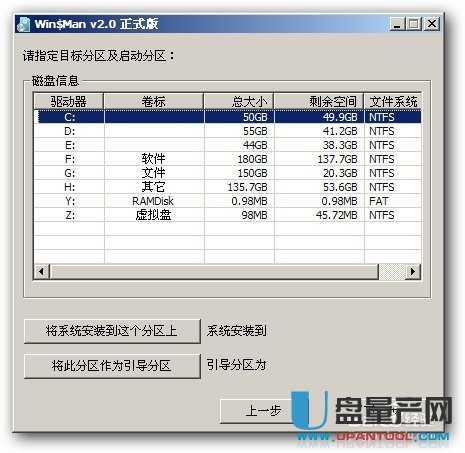
u盘安装纯净版win7系统教程图25
12、系统安装到C盘,引导区为C。
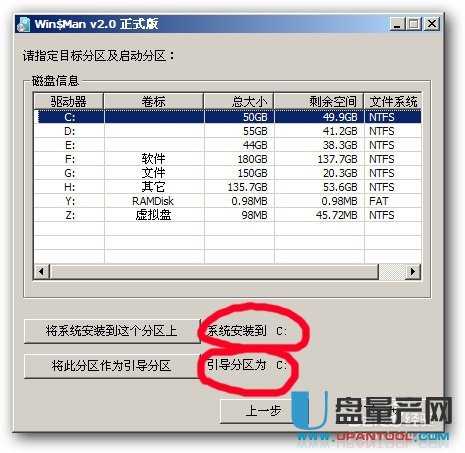
u盘安装纯净版win7系统教程图26
13、然后一直“下一步”就好了

u盘安装纯净版win7系统教程图27
14、完成后重新启机。取下U盘,再启机将以C盘引导。

u盘安装纯净版win7系统教程28
15、 win8引导启动过程很简单,基本没有障碍。输入密码时可以跳过。
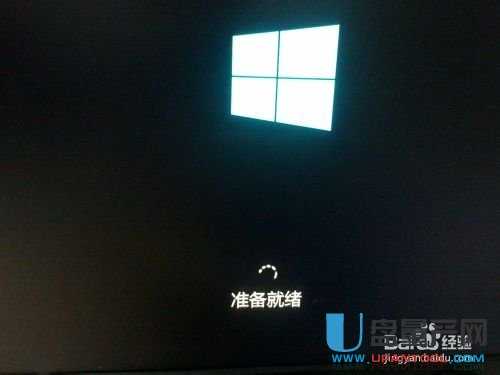
u盘安装纯净版win7系统教程29
16、 至此,win8安装完毕。
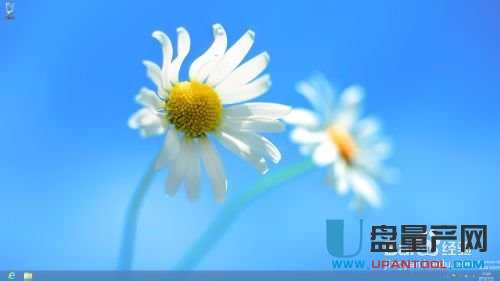
u盘安装纯净版win7系统教程图30
五、WIN8激活
1、win8激活工具。该软件无法激活win8.1。
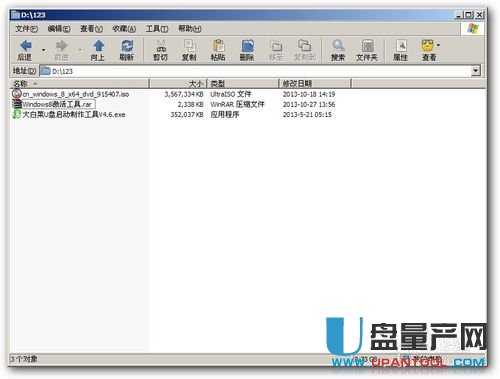
u盘安装纯净版win7系统教程图31
2、直接双击可以打开,直接运行就可以了。

u盘安装纯净版win7系统教程图32
3、安装激活后电脑自动重新启动。
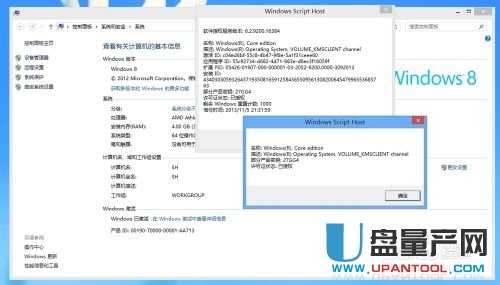
u盘安装纯净版win7系统教程图33
以上小编给大家示范了使用u盘安装纯净版中的win7系统教程,虽然有点长,可是只要你掌握了这篇u盘安装纯净版win7系统教程的方法,我们就等于掌握了这个世界!大家都知道互联网拉近了世界的距离,所以一个世界就通过u盘安装而呈现在我们眼前啦!小编说话是不是很有人生哲理呢?小编也是这样觉得的。
 有用
89
有用
89


 小白系统
小白系统


 1000
1000 1000
1000 1000
1000 1000
1000 1000
1000 1000
1000 1000
1000 1000
1000 1000
1000 1000
1000猜您喜欢
- windows一键还原怎么操作2023/01/27
- 2021全新免费可用的office2016激活密..2021/09/11
- 如何设置系统还原点2016/05/26
- hp win7 32位系统重装教程2016/11/12
- "驱动精灵:让电脑运行更顺畅"..2023/06/09
- 重装系统软件推荐2022/05/09
相关推荐
- 电脑系统怎么重装2022/07/11
- 学生电脑什么配置比较好2021/08/19
- 系统安装软件那个好用2022/12/28
- msdn下载安装2023/01/08
- cpu主频越高越好吗,小编教你cpu主频越..2018/07/12
- 简述电脑重装系统需要什么以及重装教..2023/02/21


 关注微信公众号


